i guess landscaping got in the way, or the myriad concrete / cleaning / miscellaneous projects. but in any case our workshop sat dormant. no longer.
to get back in the swing of measuring, cutting, assembling, finishing, aka paying massive attention to tiny details known as woodworking, i decided to start small with a $10 night stand.
sort of.
materials
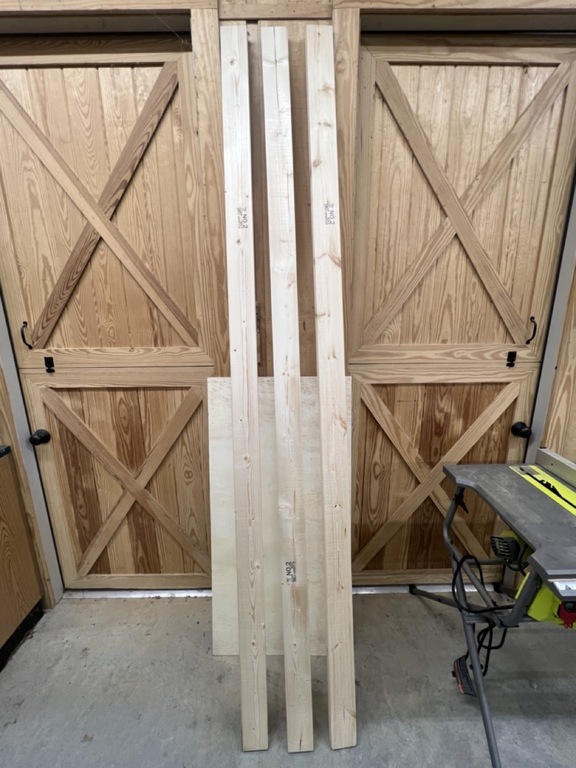
3 boards and some plywood - minimal skill required
i found a simple design that doesn't require extra hardware like rail slides for the drawer, which is still too complicated for me as a beginner.
shopping list:
- 2x4x8' boards, not treated, $3.38 /each - 1/4" plywood, ~$5 (pro rata cost based on cut out from bigger sheet) - 16, 1.5" pocket screws, 8 cents /each - drawer pull, $5 at Hobby Lobby (much cheaper on Amazon, didn't want to wait 2 days)
for about 20 bucks i was ready to get dusty.
process
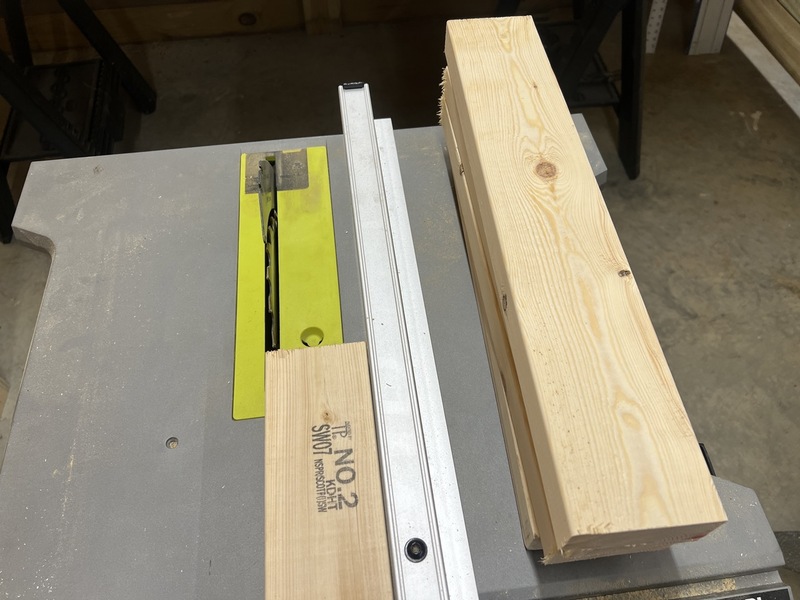
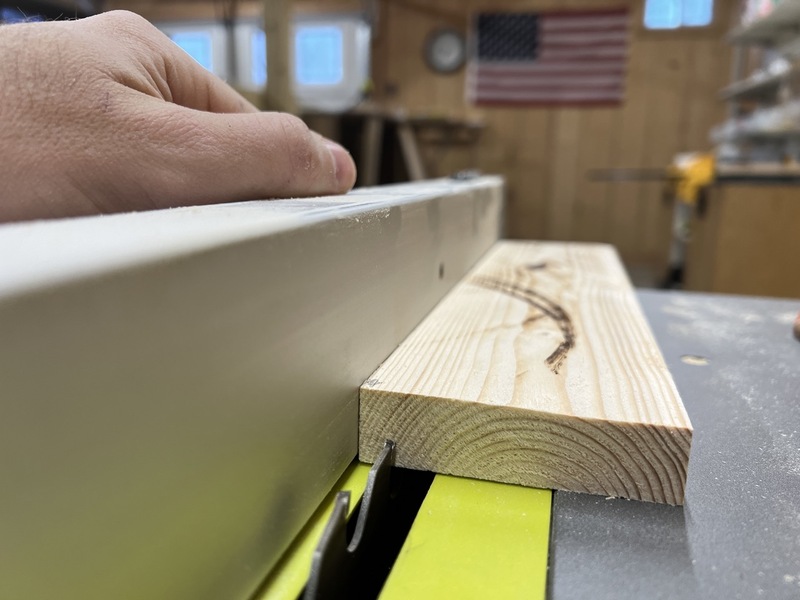
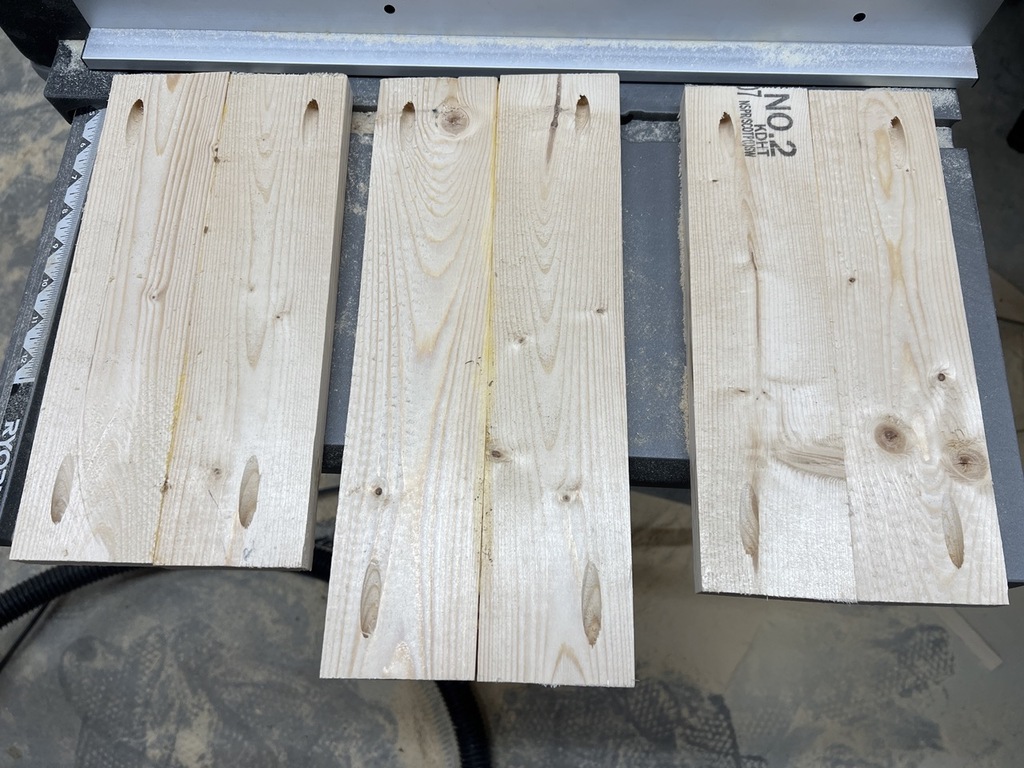
first i cut one of the boards into 5, 16" long pieces and ripped off the factory rounded edges.
these boards will become the top face
downside of Big Box store lumber - rounded edges
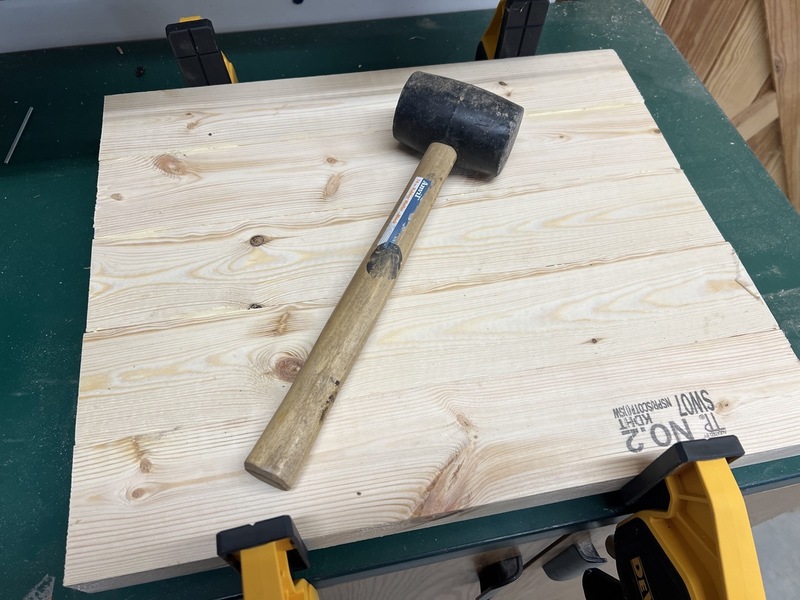
next i glued and clamped these boards together to make a large surface.
glue-ing the top boards
clamping the top boards and mallet-ing down proud edges
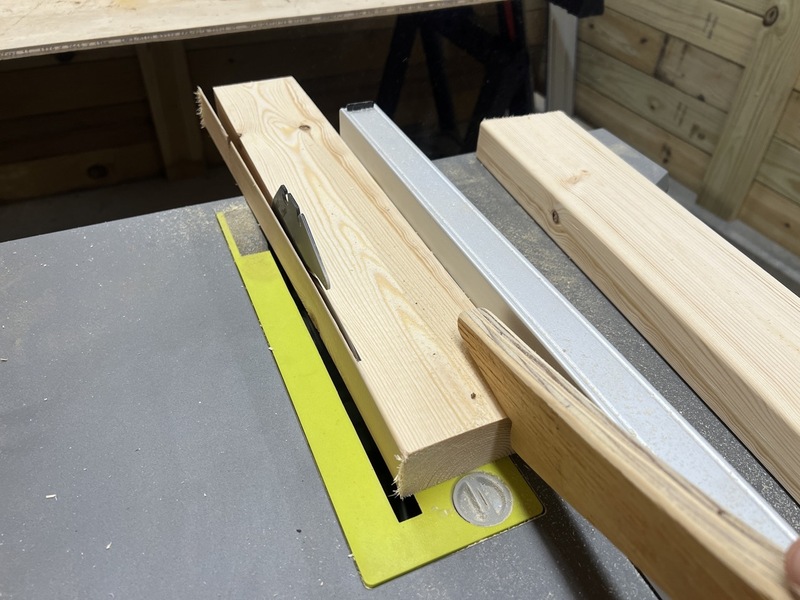
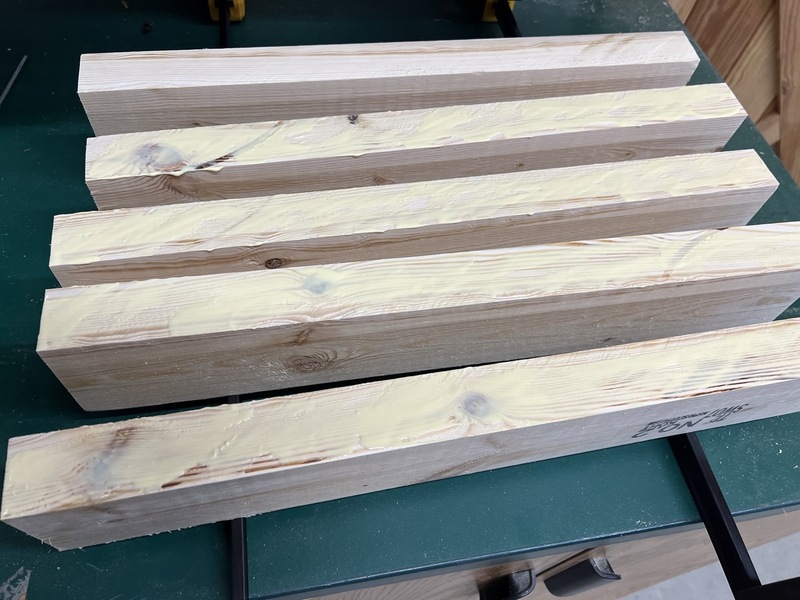
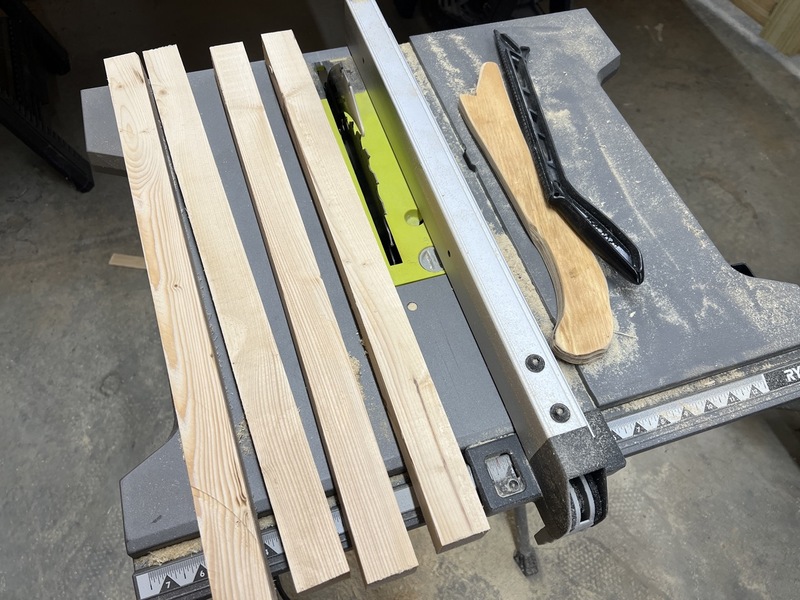
from the 2nd of 3 boards i cut 4 legs. i also made side panels by cutting ~13" long pieces, then re-sawing them (splicing vertically) into thinner panels for the side aprons.
4 table legs
table saws don't cut very high, so you run a single pass, then flip the board to cut it again
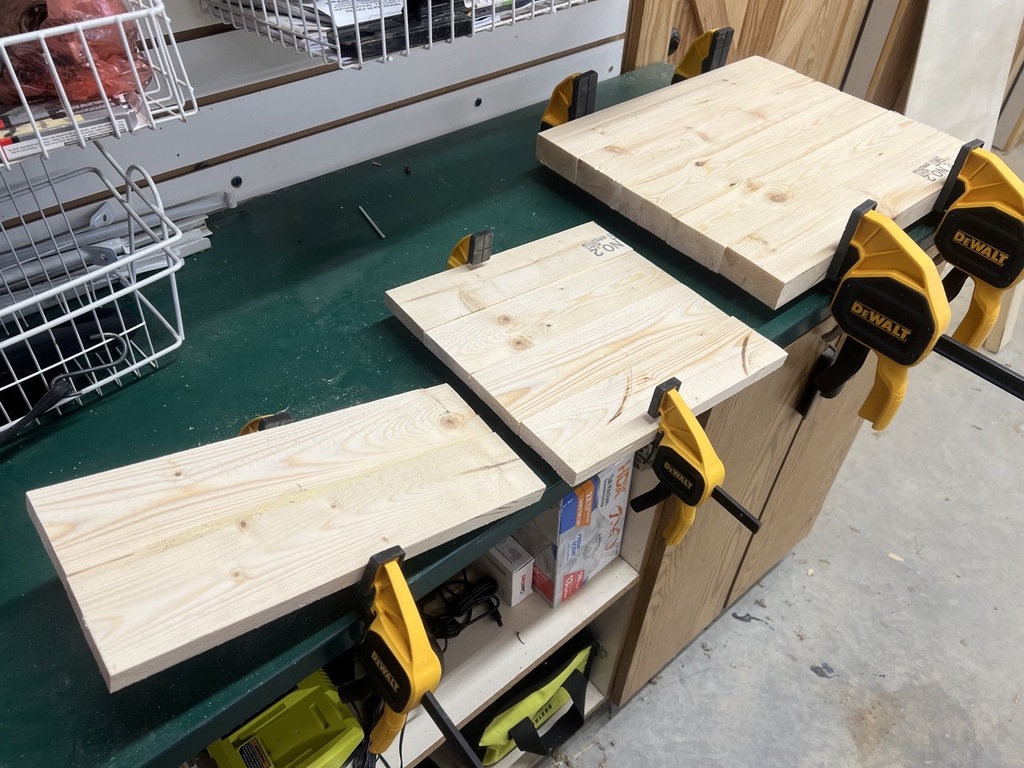
these side aprons also got glued up and clamped.
the middle clamp holds 2 aprons; there is no* glue between them
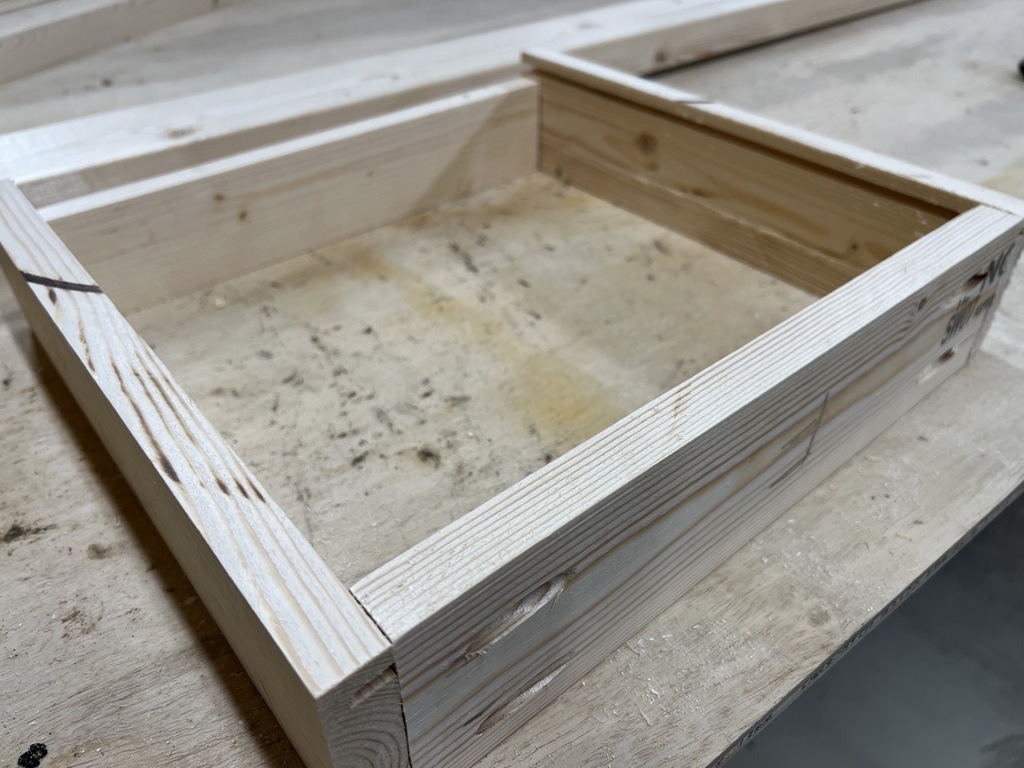
with my big surfaces out of the way it was time to build a drawer box. this was definitely the most difficult part because measurements need to be more precise for a square outcome.
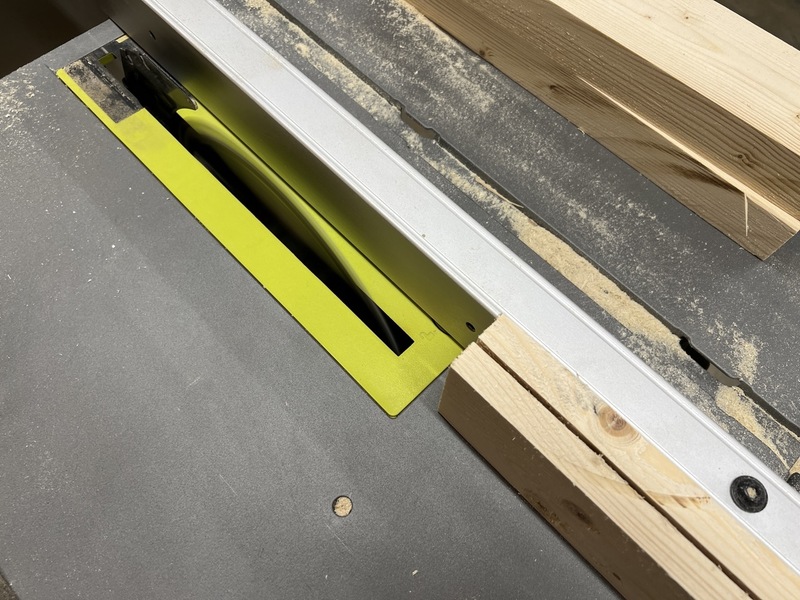
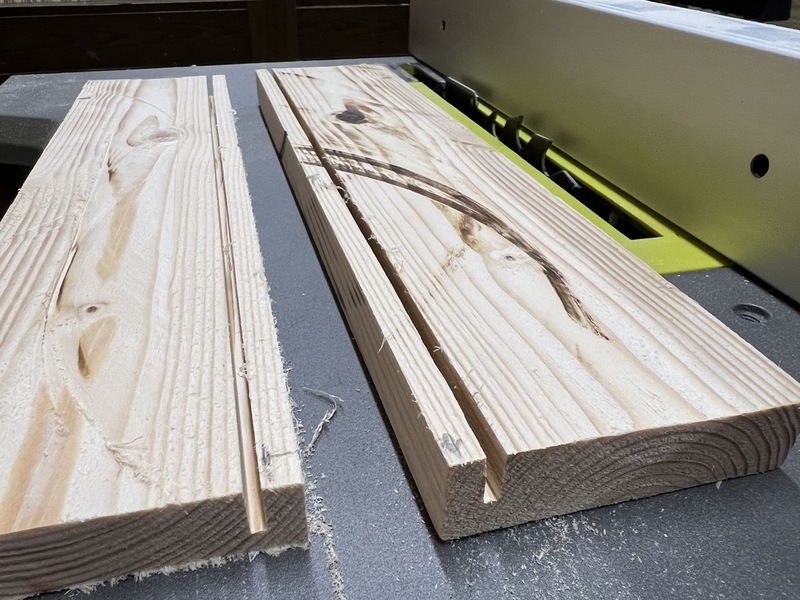
cutting grooves for the drawer bottom
evenly spaced grooves(?)
there isn't a perfect way to do this without extra attachments like a Dado Stack blade. instead i just cut out the width of my table saw blade, then moved the table saw fence a 16th of an inch and repeated the cut.
after ~3 passes per board i had just enough room to fit a 1/4" piece of plywood nice and snug.
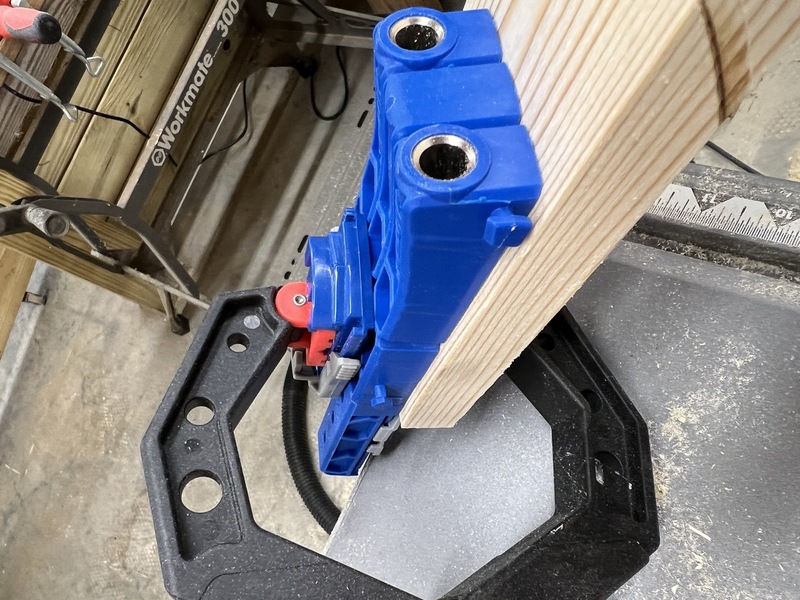
now for the nerve wracking part -- joinery. i bought a pocket hole jig about a year ago but didn't get much use out of it because it seemed confusing as hell. so i watched a video (versus reading the instructions) and that did the trick.
awkwardly clamping the jig to my piece
they ain't purty but they'll do
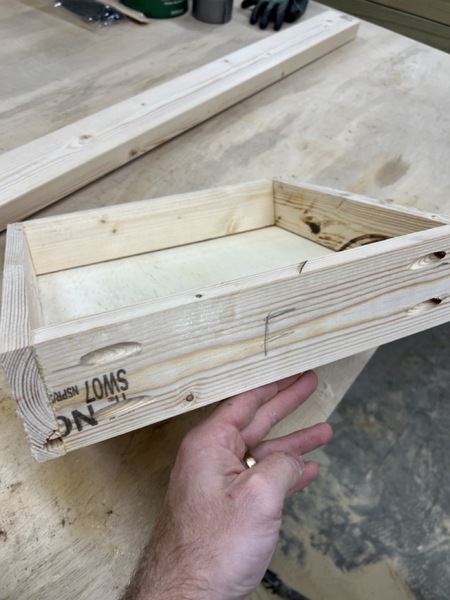
fast forward 45 mins of over-checking my measurements and drilling several more pocket holes, i had a drawer box.
assembled draw box with grooves for the bottom sheet
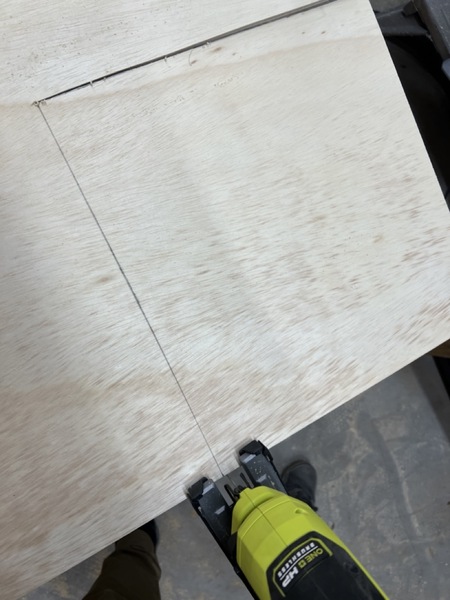
cutting out the bottom was easy and satisfying. i used a jigsaw because i don't have a bandsaw and it worked great.
jigsawing without clamps
drawer bottoms sliding in feels good
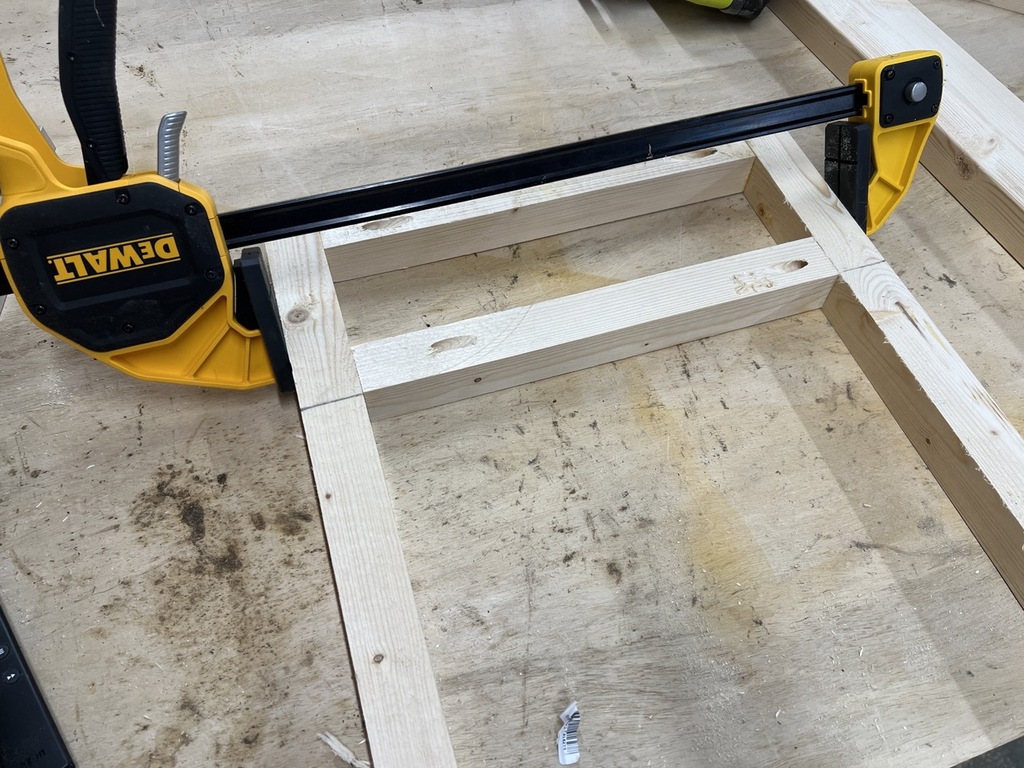
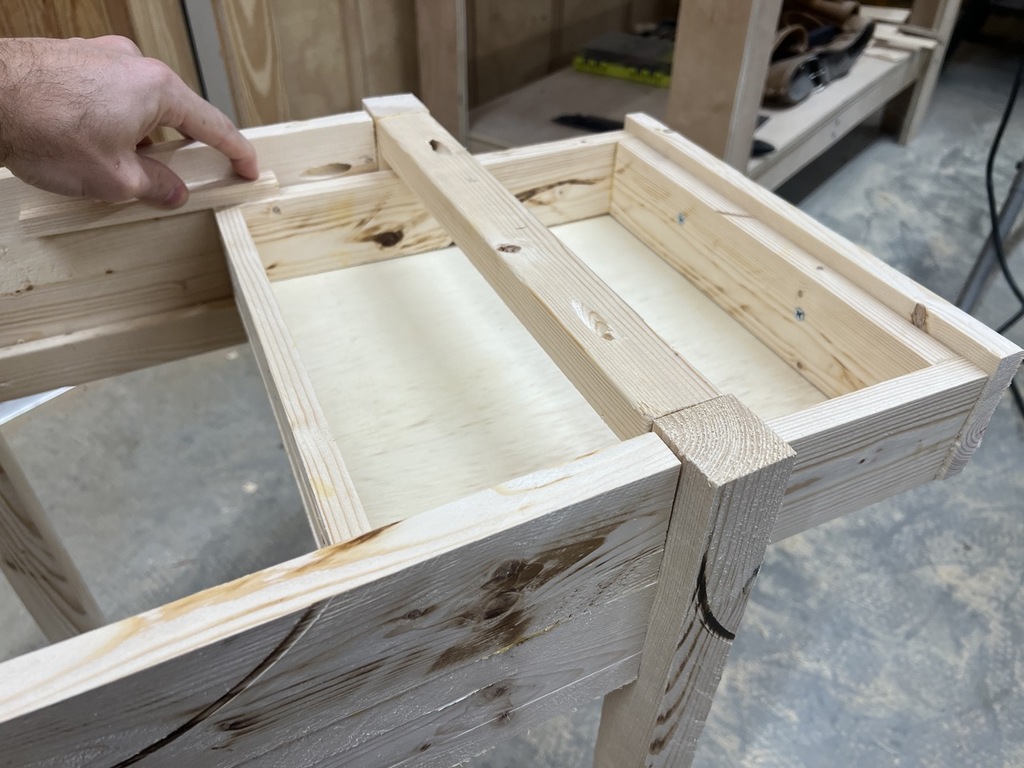
now for some more square-ing up. i made the front panel with new 1" and 1.5" pieces to support the drawer in a closed position. i also figured the side aprons were dry enough from my glue job and gave them pocket holes as well. these connect to the 4 legs and hold everything together.
some pretty uneven edges and joints, which i do partially blame on my tools
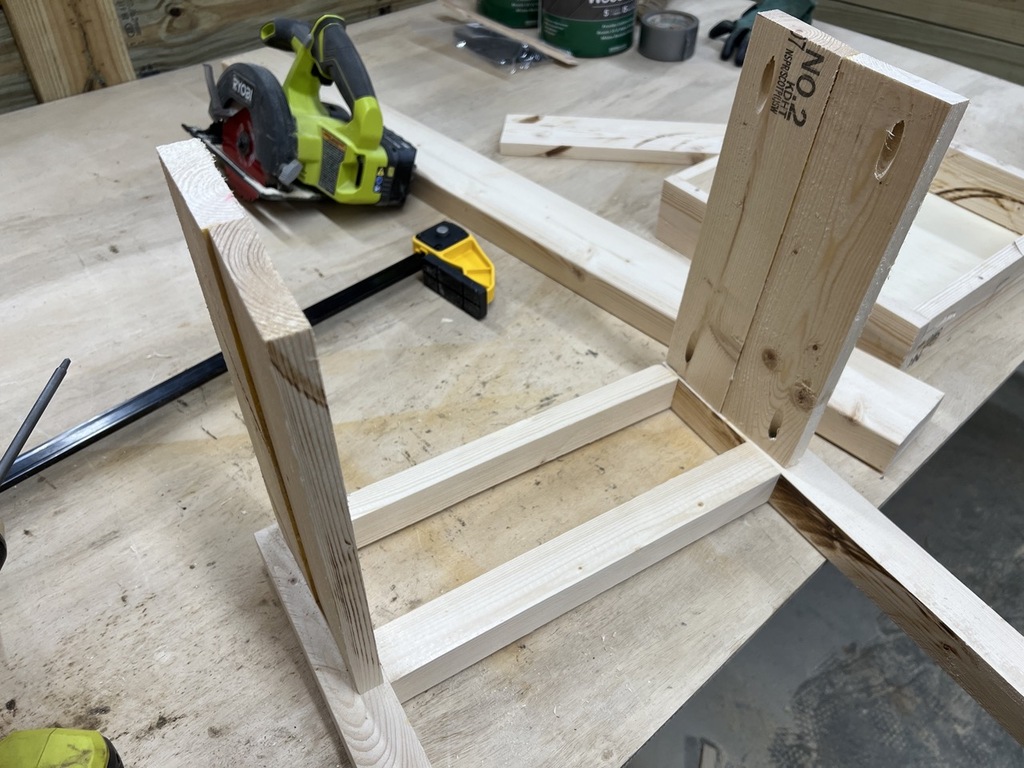
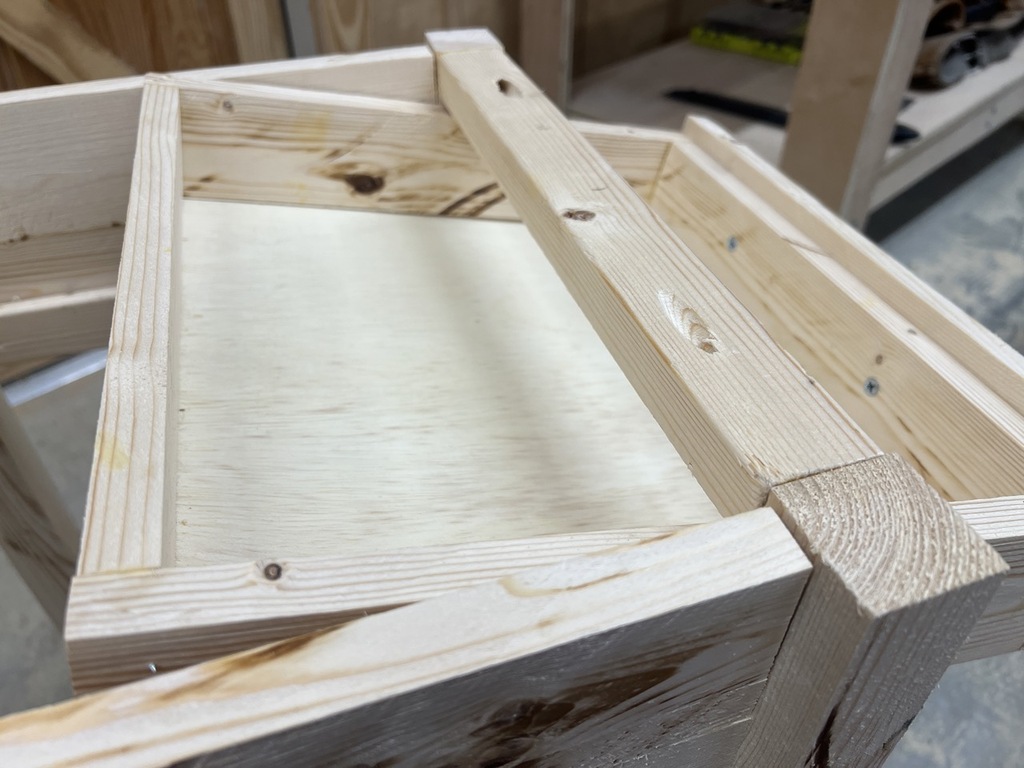
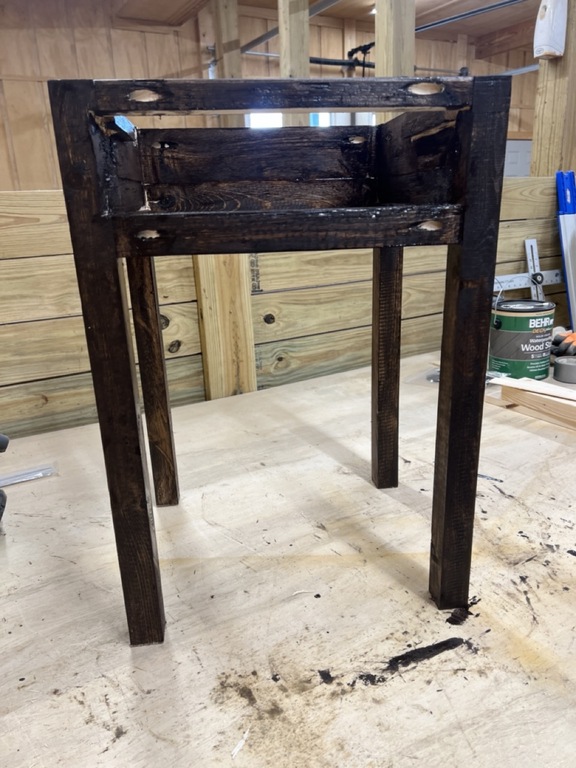
here's what it looked like when i started joining the 4 legs to the front plate and side aprons.
side aprons are suposed* to be flush with the inside, not outside of the front plate
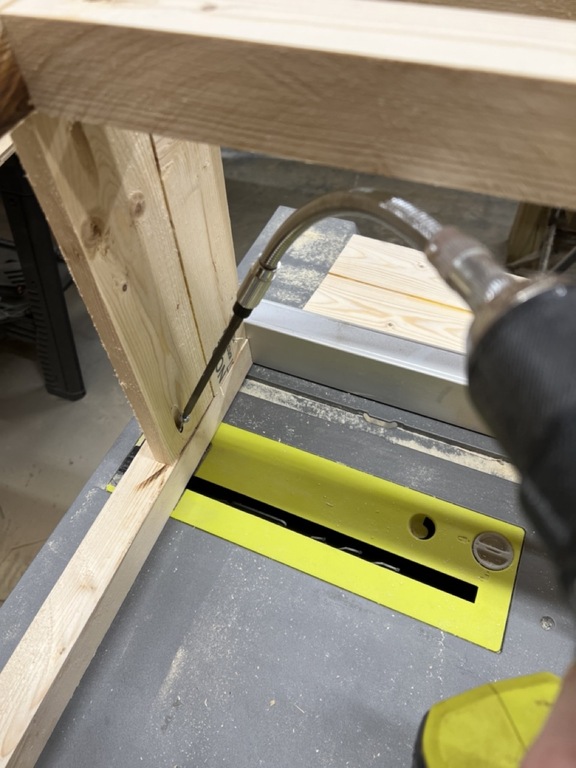
luckily i bought a $12 "flex bit" that makes it easier to screw unreachable angles
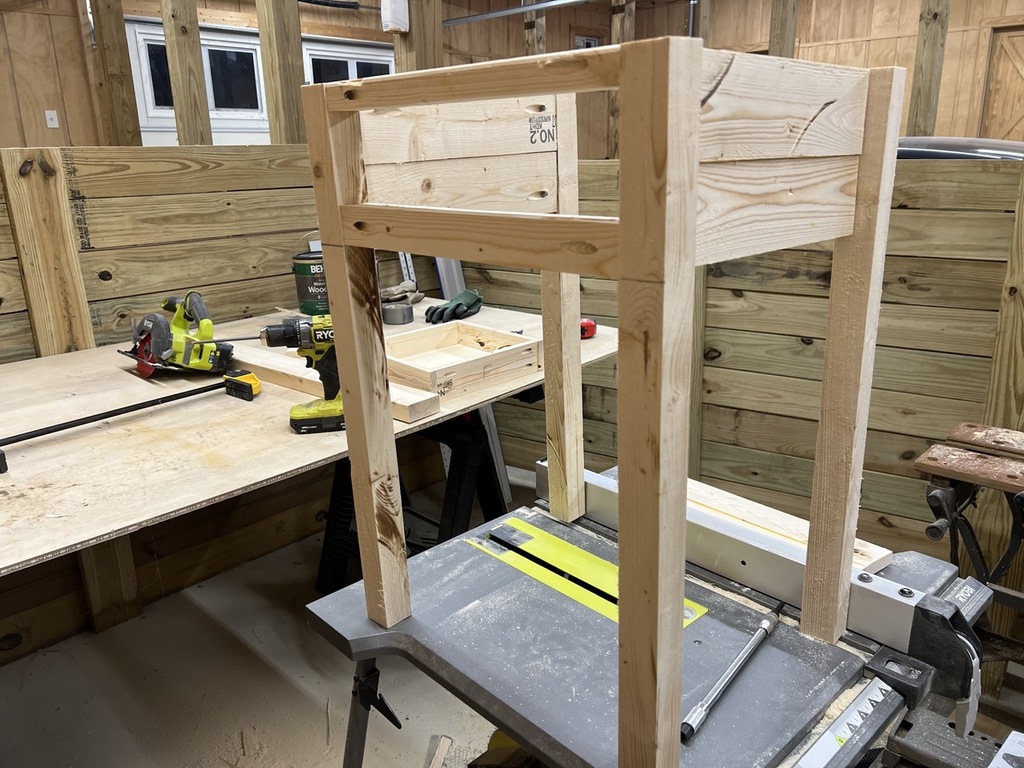
side aprons connected to the four legs and front plate
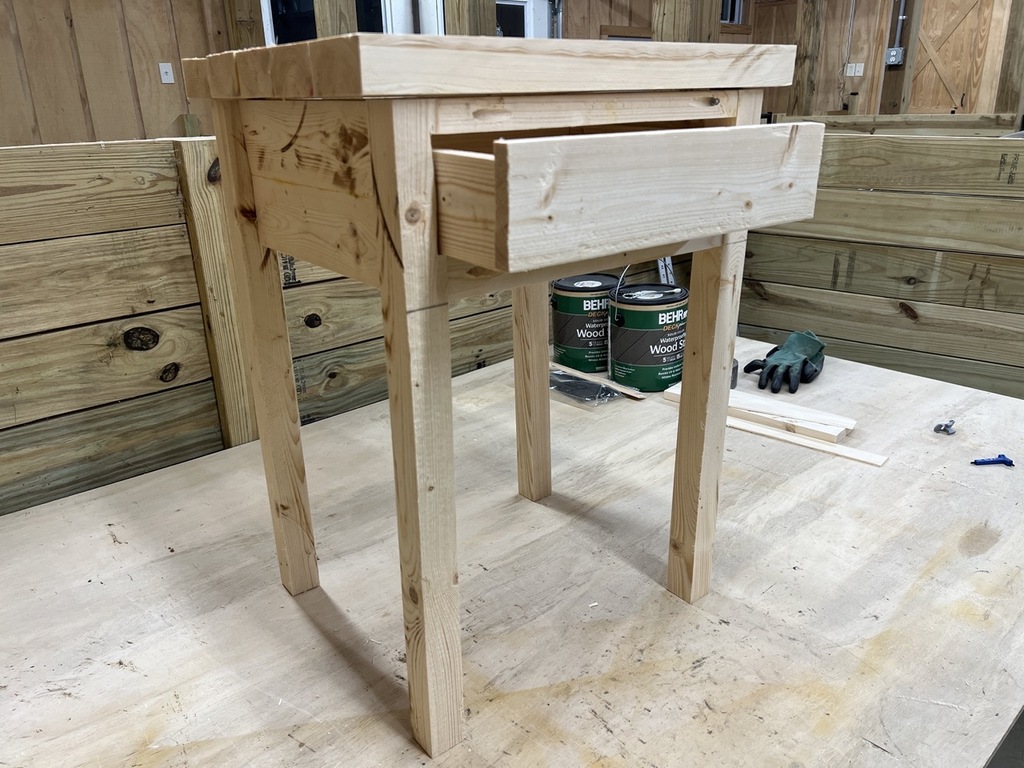
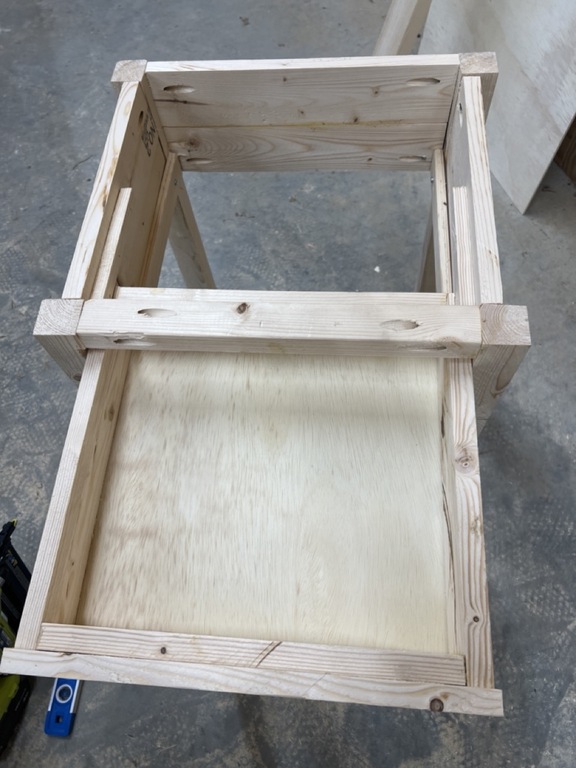
next i screwed on a face plate, from my resawing tasks, and did a dry fit with the drawer box. it fit OK and i moved on to finishing.
mostly assembled night stand
drawer UX
i hate when drawers do this
in software we think a lot about UX, or "user experience." as a frequent drawer user, i hate when i pull one past the middle depth and it drops at a sharp angle. sometimes drawers even fall out of the box.
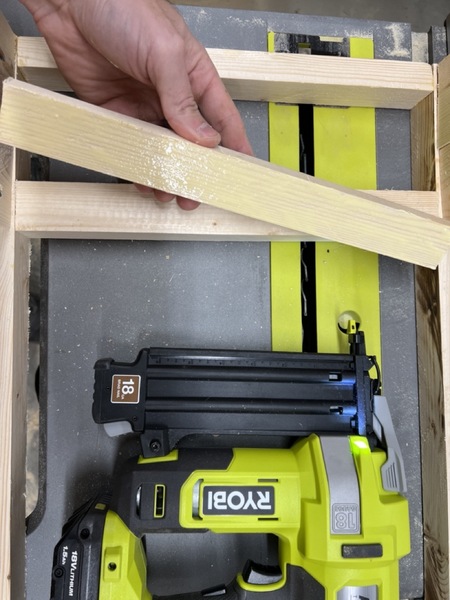
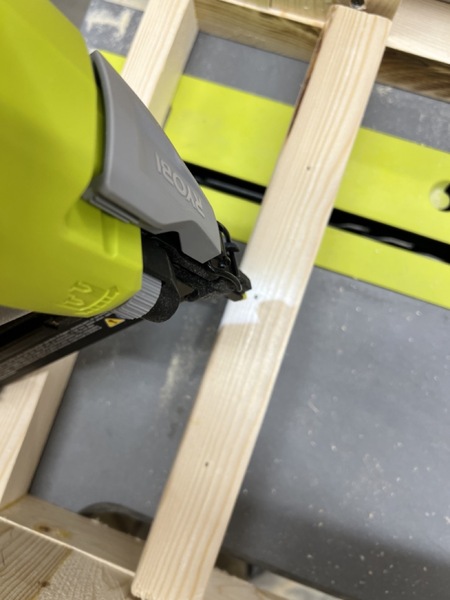
so with my brad nailer i installed both bottom and top "glides" to keep the drawer in line.
gluing a bottom glider
nailing a bottom glider
finding the right position for a top glider
demo - drawer doesn't fall with top/bottom gliders
finishing
i've watched enough tutorials to understand that furniture made with 2x4 material isn't exactly premium. it's great for learning, that's about it.
so i followed a guide to "distressing" the wood, which really just means destroying it with saws and screwdrivers. for about 5 minutes i ran my jigsaw and reciprocating saw over the material backwards to give it a weathered, barn wood aesthetic.
you can see a little bit of my saw work on the left side drawer box
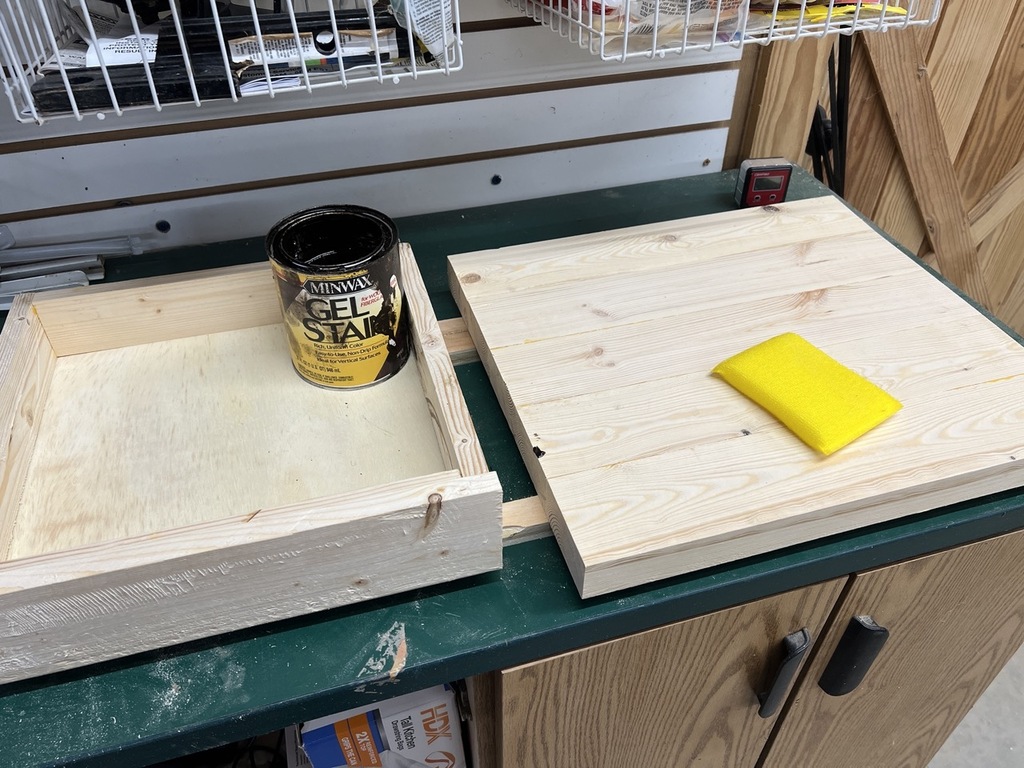
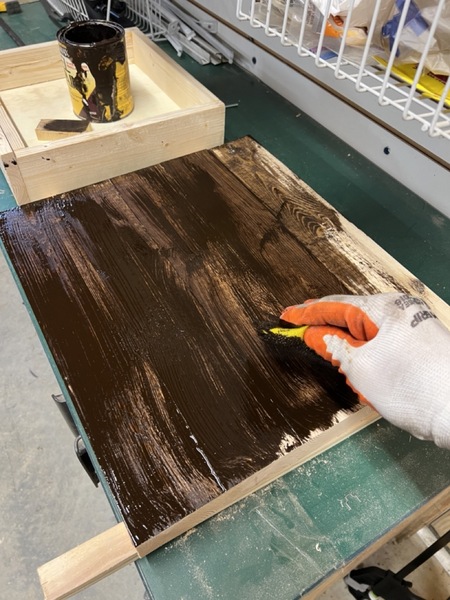
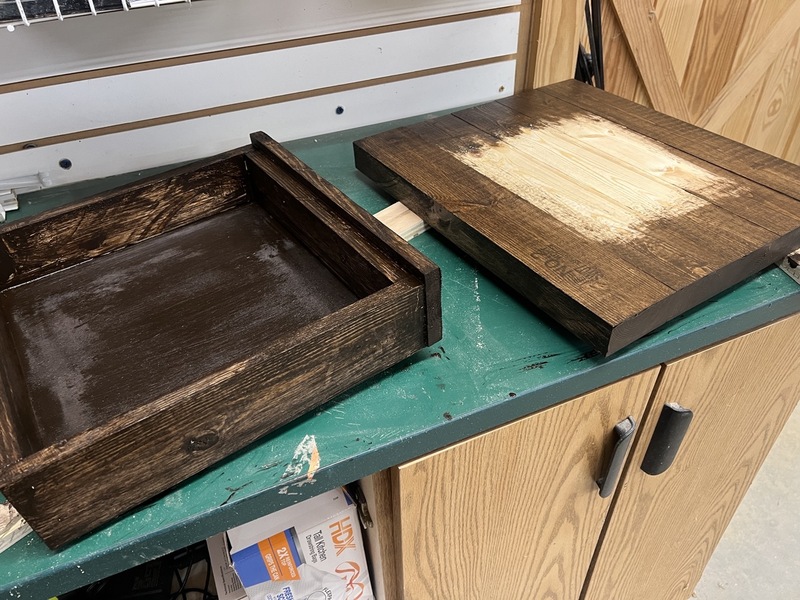
next i took the table top out of the clamps and shaved a 1/2" off each side for a nice square look, making it 16x18 finished. and i grabbed the first stain i could find in the barn.
gel stain is funky, i'm not really a fan
i only stained the outer edge of the table top's underside - the rest wont be seen
staining the frame was messy given all the pocket holes i needed to fill in
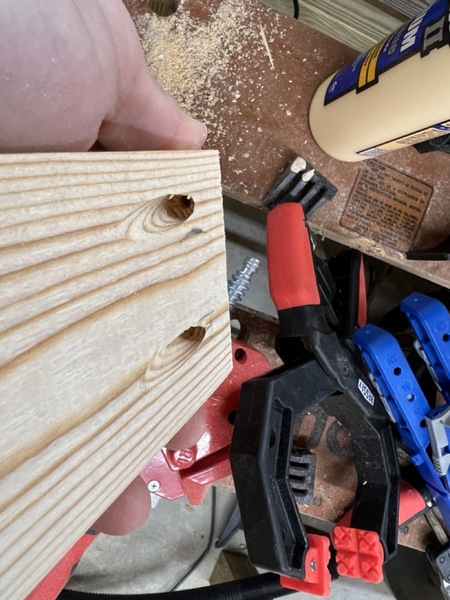
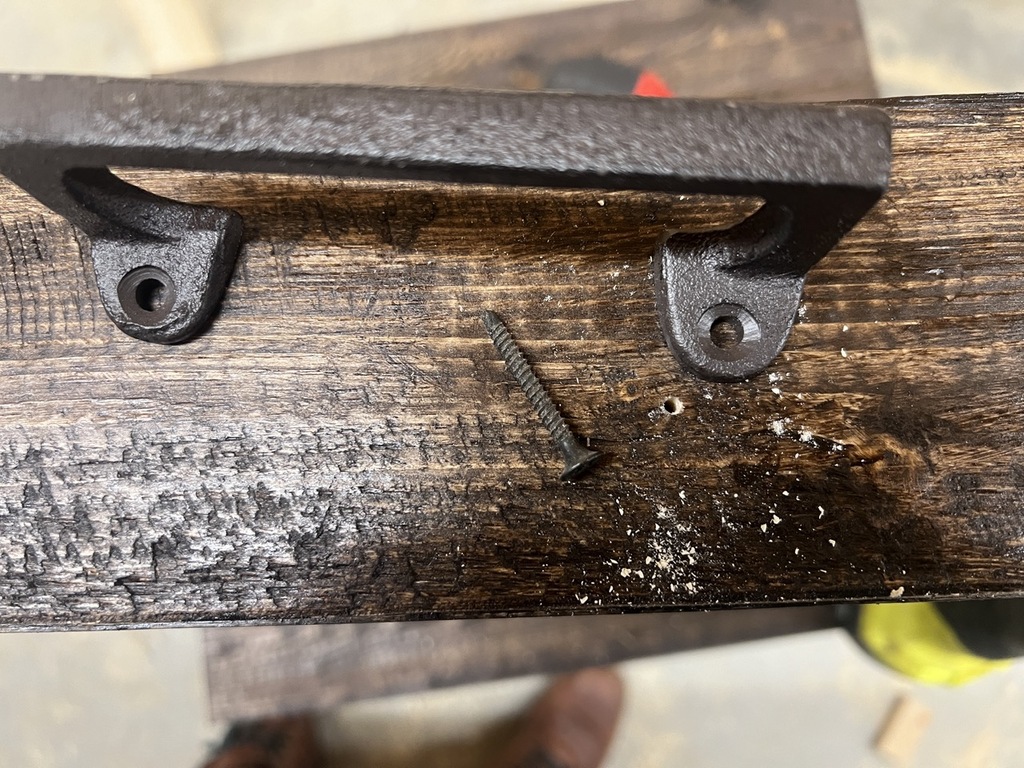
installing the drawer pull was satisfying because the one i picked is a great fit for the weathered barn wood appearance. i measured my off center spot, drilled a pilot hole, screwed in one side, then used a small level to square the other side.
always use pilot holes - you WILL split small softwoods without them
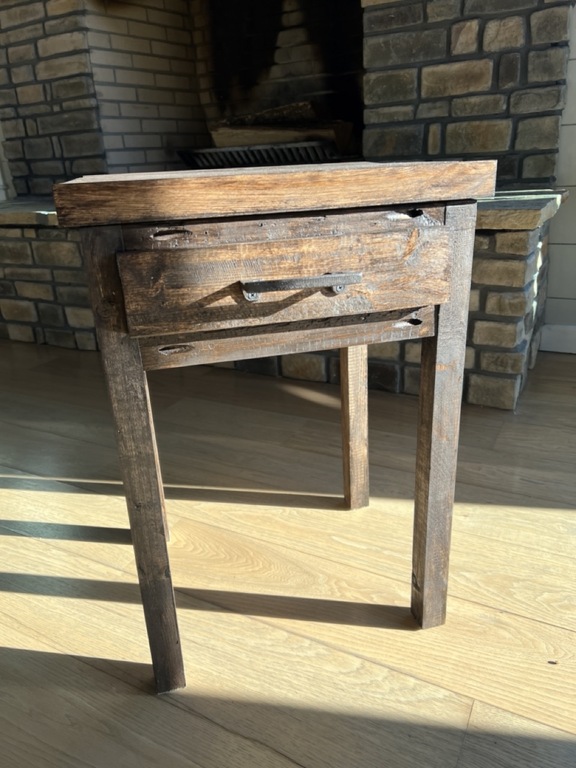
all together now, it looked like this before any drying.
freshly stained, distressed 2x4 nightstand
i let it dry for a day, then moved it to my house for final touches:
- felt pads on the bottom legs - fastened the table top using corner braces
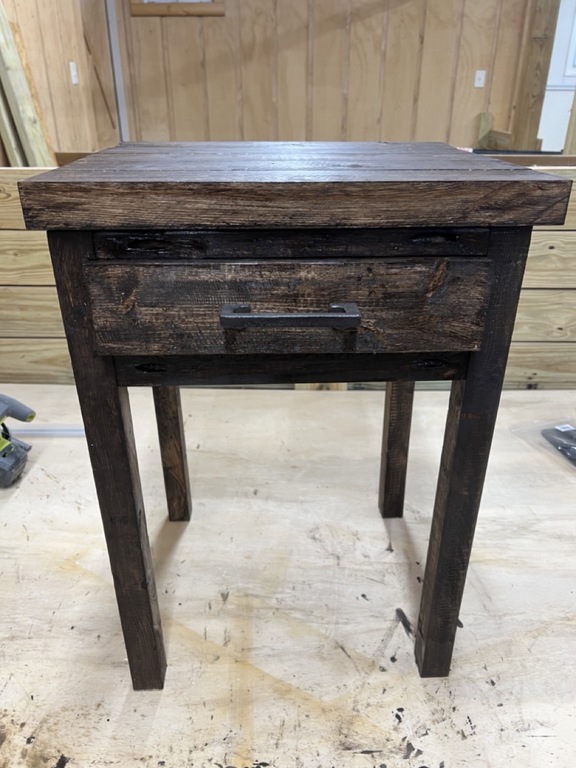
pic in the light to show the true shade of brown
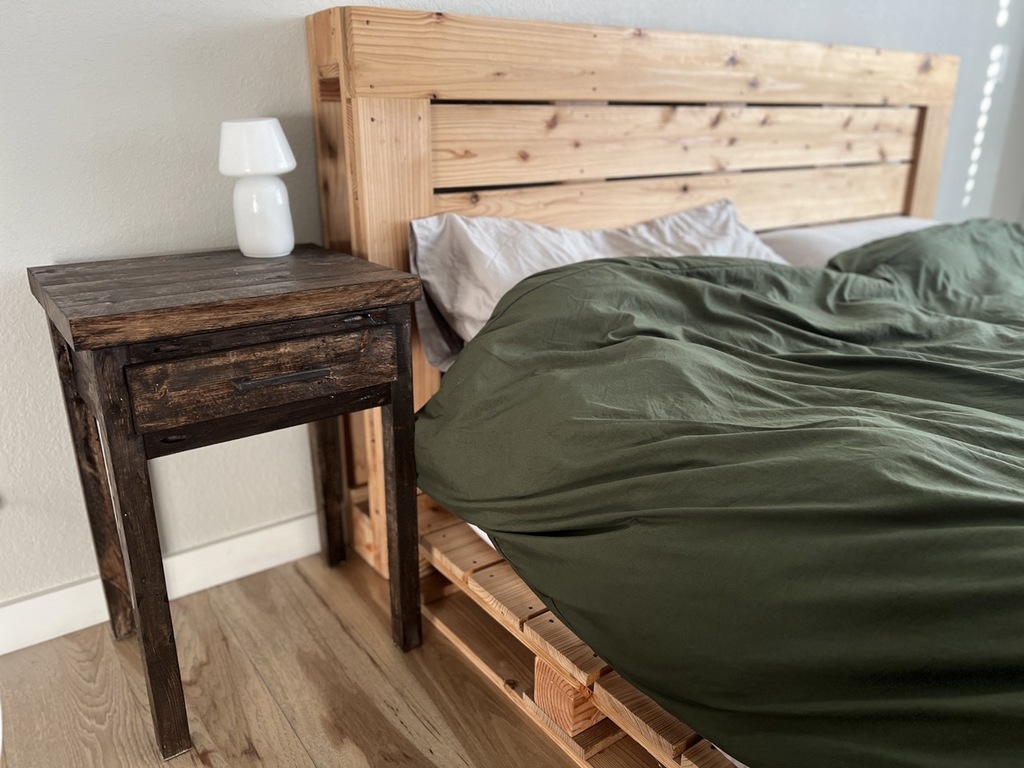
and of course, in its rightful position.
next to my bed, where i've never had a nightstand
summary
making furniture is peaceful but also painful, meticulous work. i'm barely getting started here and already learned a lot about what not to do in my next build. example: mind the kerf!
but with our new container house underway, i figured it would be pretty sweet to fill it up with things i make with my own hands. so that's what i'm going to do.