i've been watching woodworking channels on YouTube to pick up terminology and how-to tips. although strategies range from craftsman to craftsman, the one commonality they all share is a well organized workshop.
this means tools hung on the wall, ample table space for assembly, and why not, a bit of decor.
since i have a large barn to work in, i'm not concerned with the "space saving" genre of techniques. but i do like the idea of organizing my most used tools within an arm's length.
so made a power tool shelf.
material prep
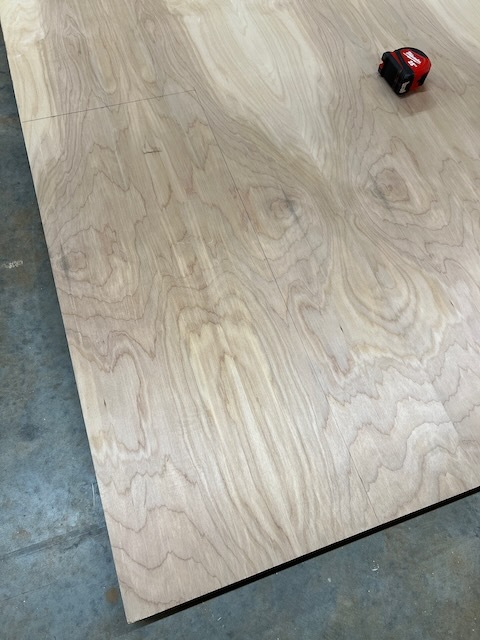
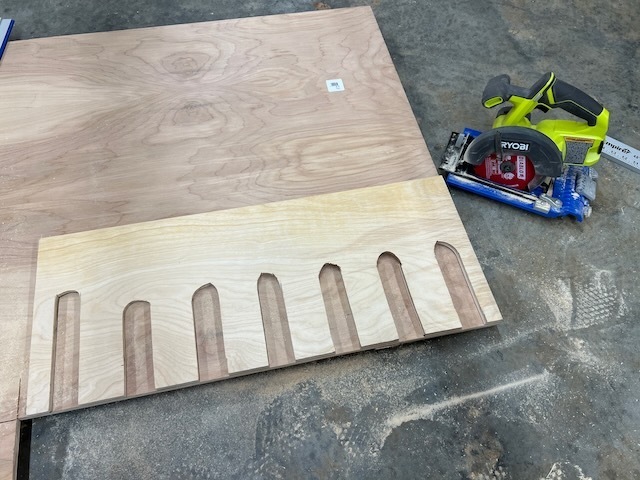
i started with a 4x8' piece of birch plywood.
this is the same material i used for the work bench project, except i accidentally bought 1/2" thickness instead of 3/4" thickness. in my defense the piece was on the wrong rack, but i still should have been more careful.
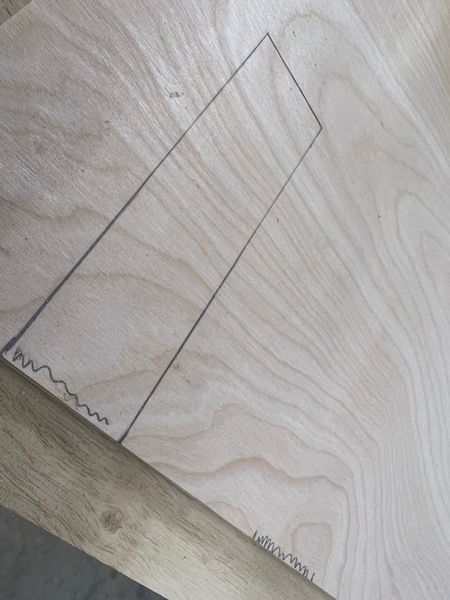
the space i want to put this rack, above my work bench, is around 34" wide so i measured a 32" long by 12.5" deep board. this will allow my power tools (drill, driver, etc) to still have long 5" bits attached while being shoved into the cubby holes.
measurements are much faster with my new T-Square
view from the sled
admiring my perfect cut
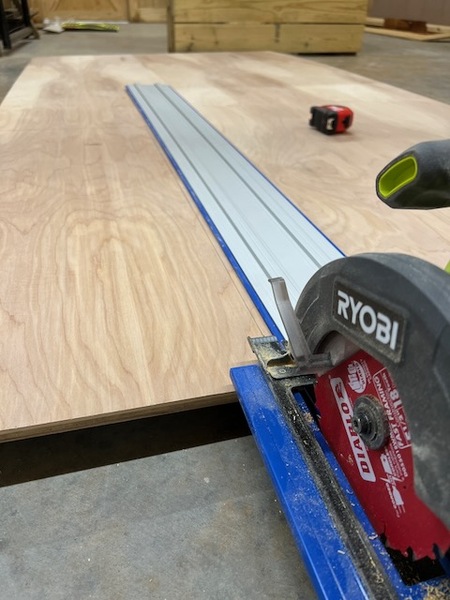
taking a lesson learned from the work bench project, i bought a Kreg "rip cut sled + track" that allows you to attach any standard circular saw and cut long, straight lines. it's sort of like a mobile table saw.
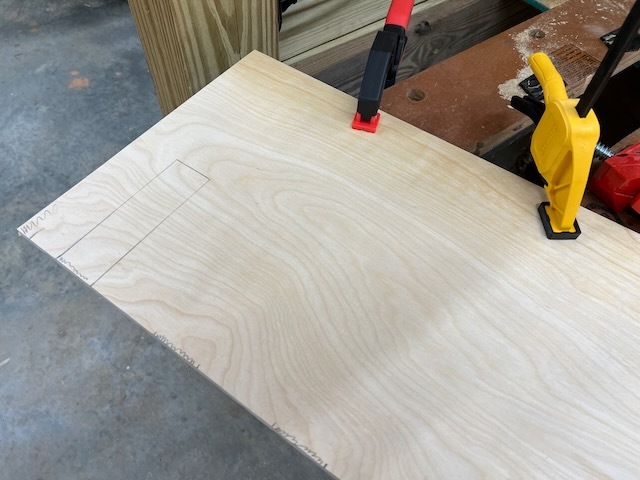
next i debated how many cubby holes. too few, i'll need another shelf. too many, my workshop will look dumb. i settled on 6 slots.
the scribbles are where i want to cut out spaces for tools
check out 2 of my 10 new clamps
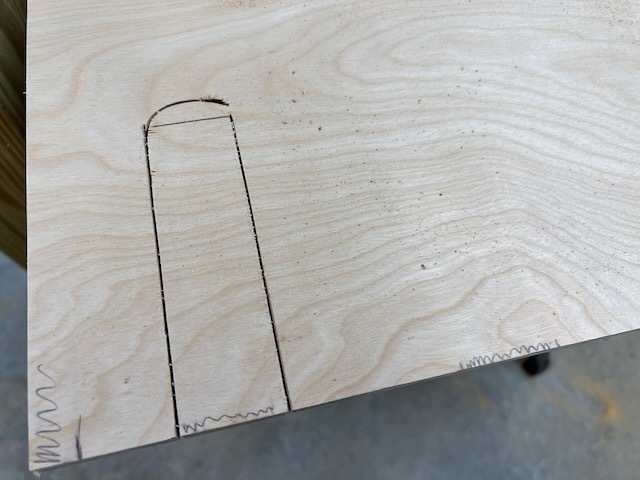
in theory, this is what i wanted to cut out
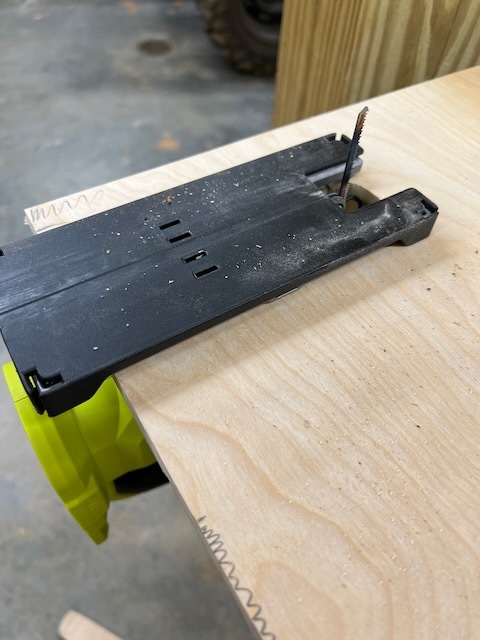
my first cut kinda sucked. actually all of them did, but that's OK. i've never used a jigsaw before today.
nailing a symmetrical curve on the jigsaw is tricky
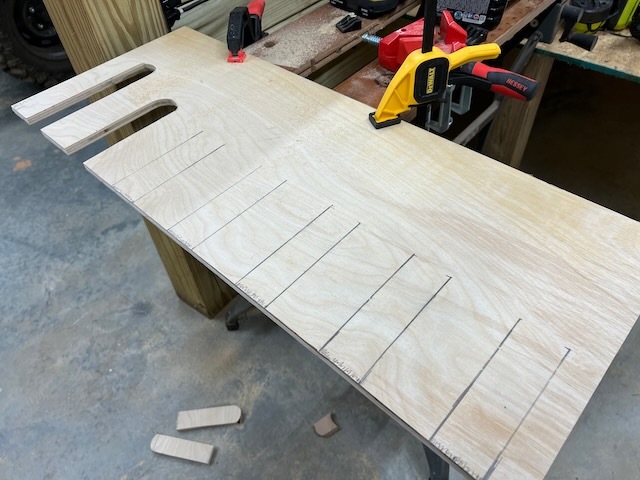
spontaneously i decided to make a special slot for my jigsaw, however the sizing was different than my other tools. no biggie, i simply cut a deeper hole for the jigsaw and was on my way.
jigsaw to the far left, other slots uniform
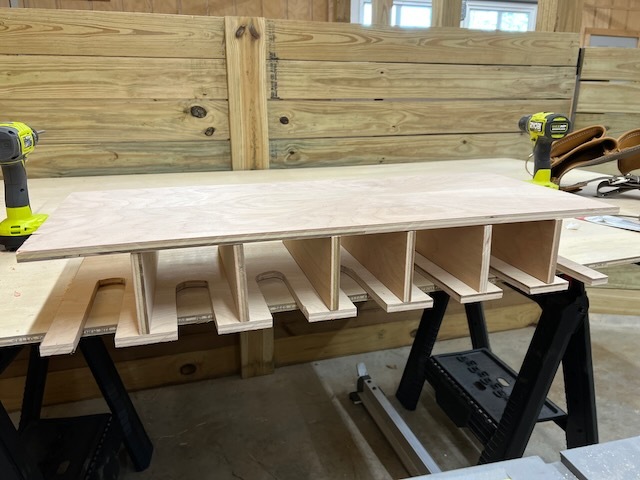
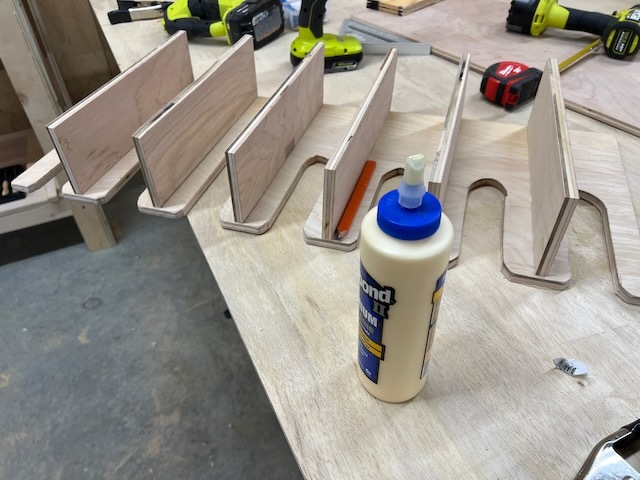
as i made each cut, i tested them for spacing and depth. these vertical blocks are just placeholder for now. with all the cuts done i used this bottom plate as a template by simply tracing around it on my remaining plywood to create a top. this was yet another lesson learned + applied from previous projects. while you can start with a precise measurement, complementary pieces merely need to match your first cut vs follow the same numbers. tracing and using my bottom as a template will provide a tighter fit than trying to make another perfect 32" x 12.5" board with a ruler.
next i settled on 4" high spacers between the bototm and top plates, then laid everything out pre-assembly to ensure it would be OK.
adding 6, 4" spacers that are slightly shorter than 12.5" to prevent jut out
assembly
despite what i just said about using piece #1 as a template for future pieces, vs measuring everything out, i didn't follow my own advice for the spacers.
uneven spacers, despite measuring exactly 4" wide per cut
i clamped them together and considered passing the uneven edges through my new table saw, but i wasn't confident i could get a clean cut given the clamps would have to be removed. in retrospect it should have been OK to align the flat side with the table saw fence, but again i don't know anything.
to 80/20 the problem i simply jigsaw'd about 1/8" from the 2 widest boards and hoped for the best.
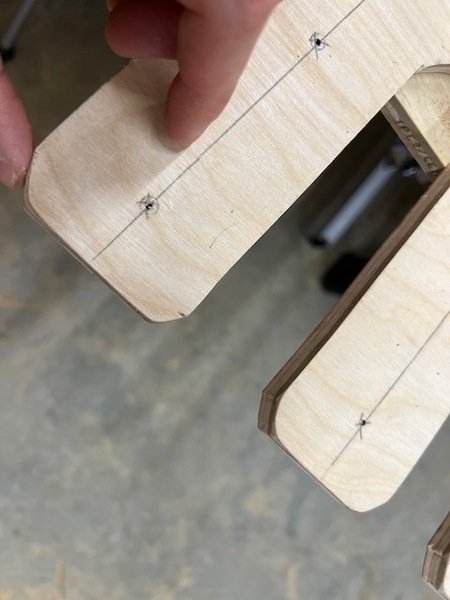
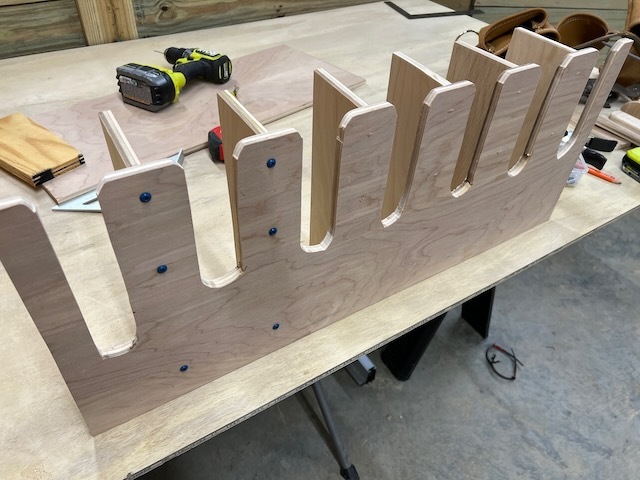
marking 3 drill holes for each spacer
all my holes pre-drilled with a very thin bit
to hold things in place while i attached screws from the underside of the plate, i put a single bead of Titebond 2 wood glue ($9) and waited 5 minutes for it to set.
my first time using wood glue
you'll notice that somewhere between the last step and this one, i grabbed the jigsaw again nd made each cubby hole's entry corner a bit rounded. then i used my new corded sander ($49) to smoothen the edges.
attaching spacers from underneath - 3 screws may be overkill
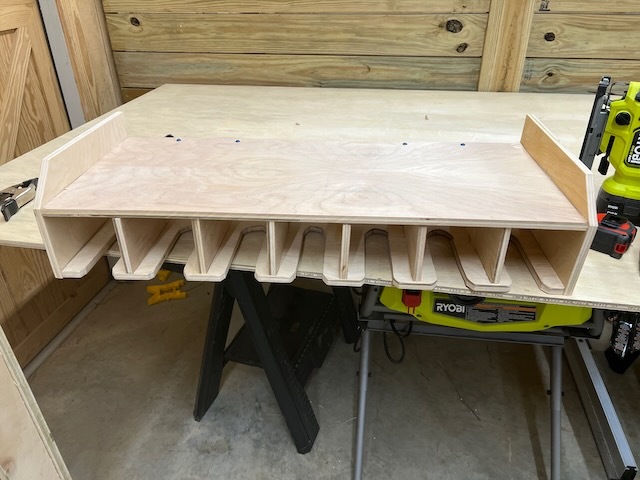
finally i cut out and attached 2 sides, giving them each a 45" angle at the front corners because why not.
7" tall side plates
hanging the shelf
i'll admit, i hadn't thought much about how to attach the shelf as i built it. if i wanted to ensure its permanence i could simply add a board along the back side, then screw it directly into the barn's wood panel wall.
i opted instead to scavenge through the many leftover building supplies left on the property by the previous owner and discovered over 50 various shelf hinges.
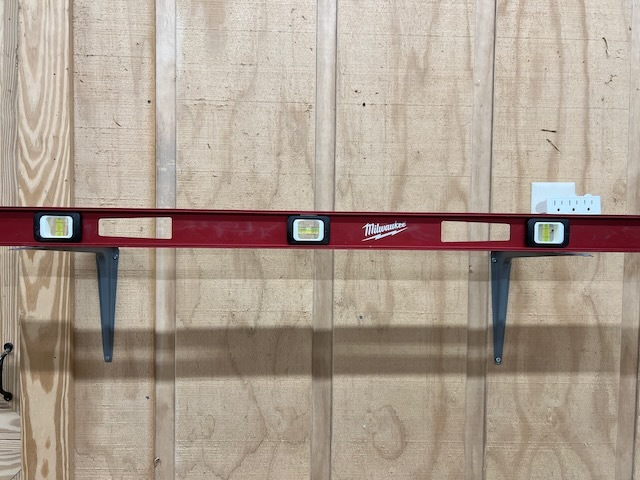
attaching 2 hinges to the wall with my big level
i centered the shelf on the hinges, then ran into my final problem: all my screws and nails were too long for this crappy 1/2" thick plywood.
to remedey the situation i found a few washers and put 2-3 washers on each of my four, 3/4" length wood screws which went through the grey brackets and straight up into the box, without penetrating all the way.
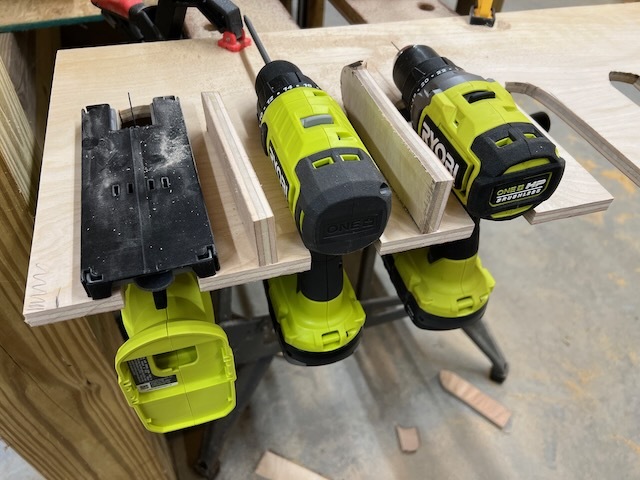
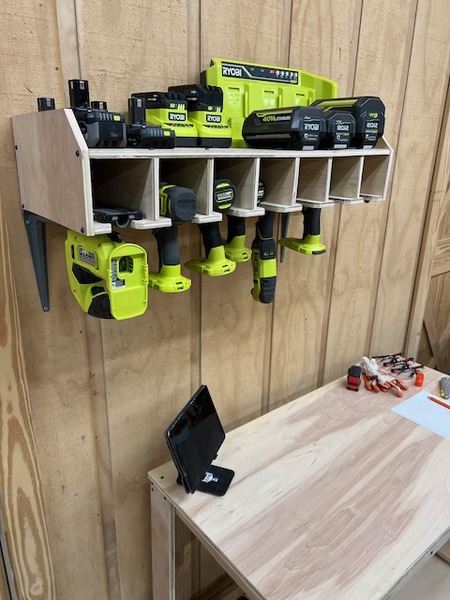
view from the left
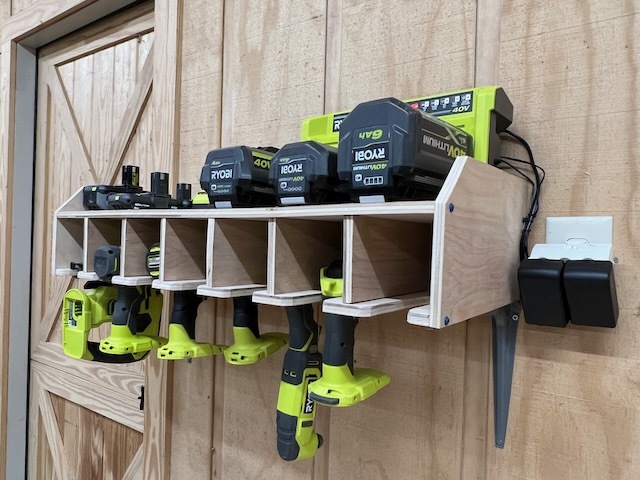
view from the right with cable management
and that's it! my 2nd workshop utility is now ready to rock.
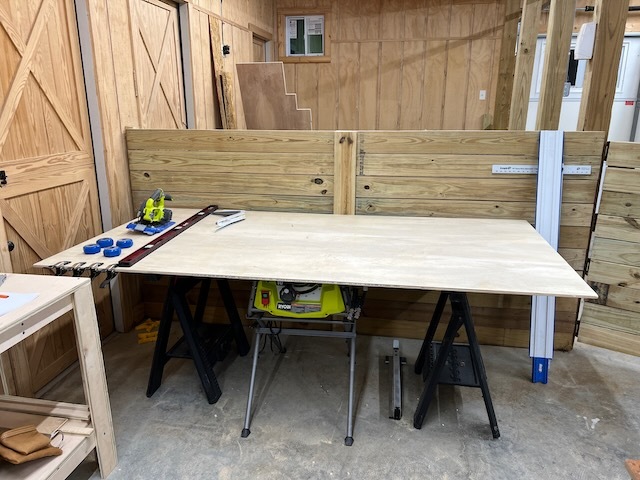
further cleanup
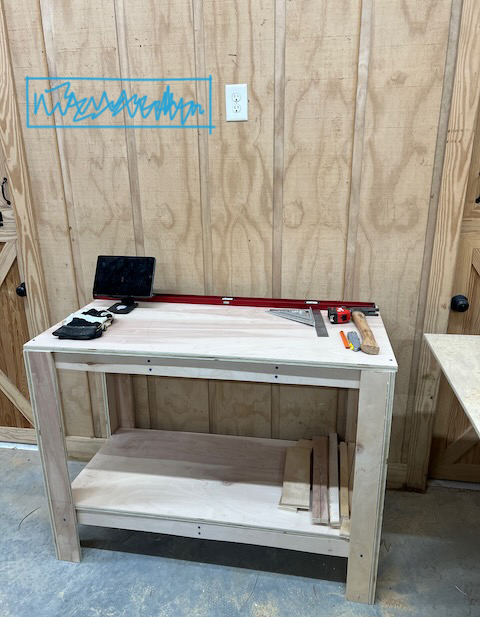
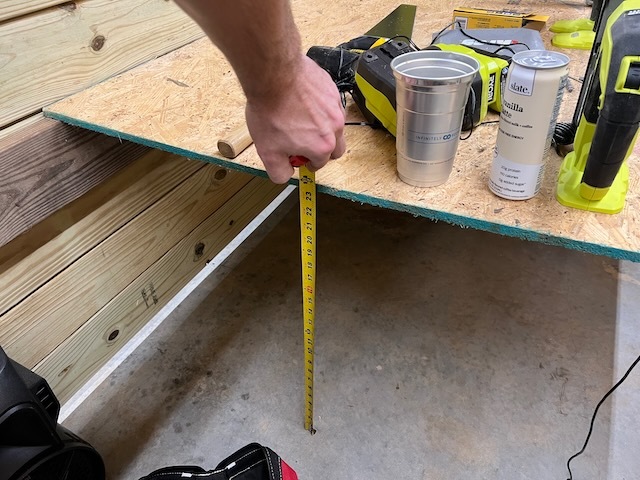
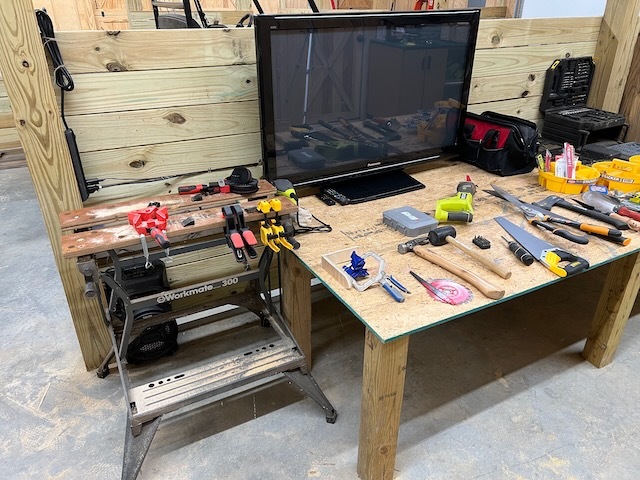
we had an old, super heavy TV in our guest house closet so i secured it to the low rise table.
measuring the sag
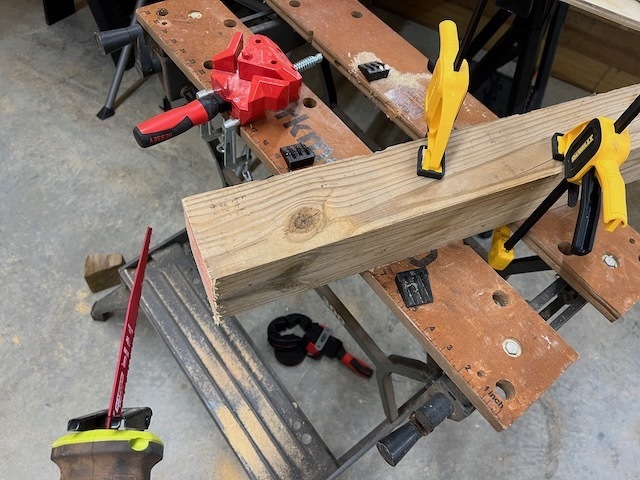
cutting a support beam to size
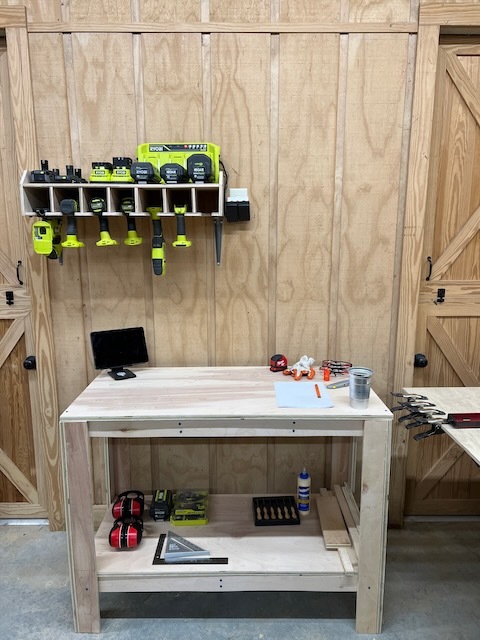
TV for watching woodworking tutorials online
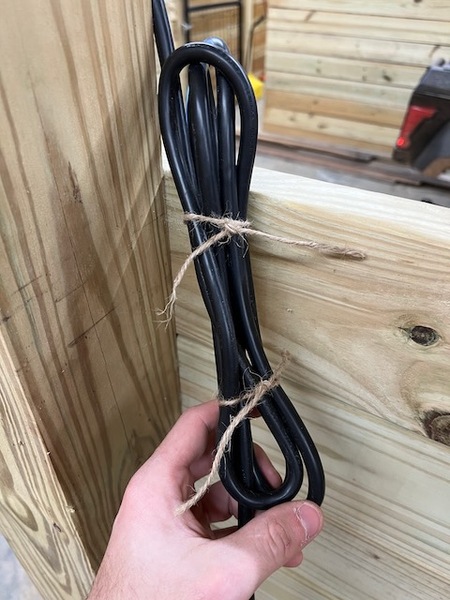
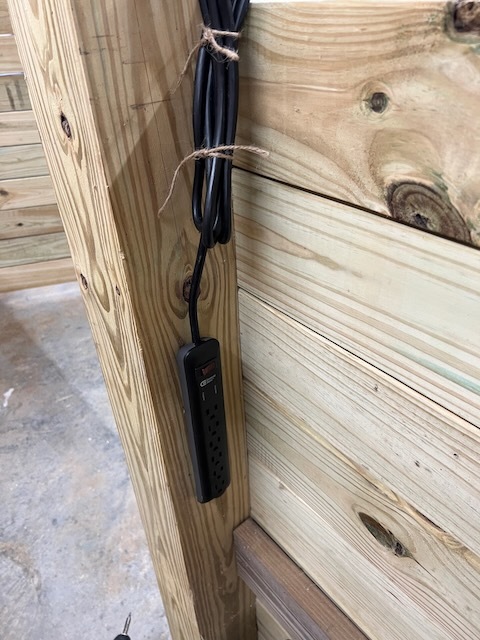
during this task i noted the need for extra power plugs and did something nice.
twine to reduce slack
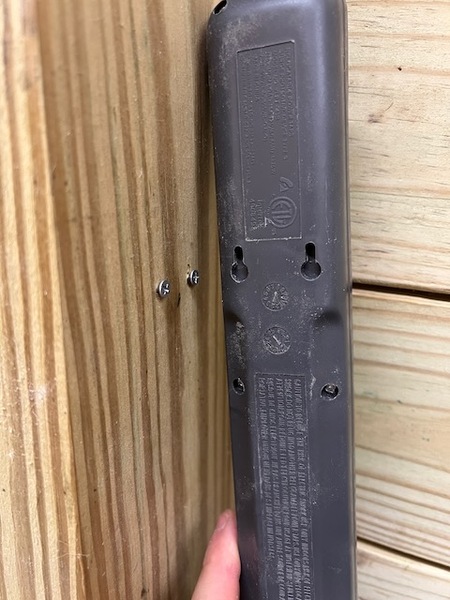
wall mount
it came out OK! now i have ample plugs for corded tools as well as the TV and USB devices.
in a future project i'll organize the other tools on the wall to the right of the power tool shelf, and make better use of this sawhorse assembly area here. let's get to work!@