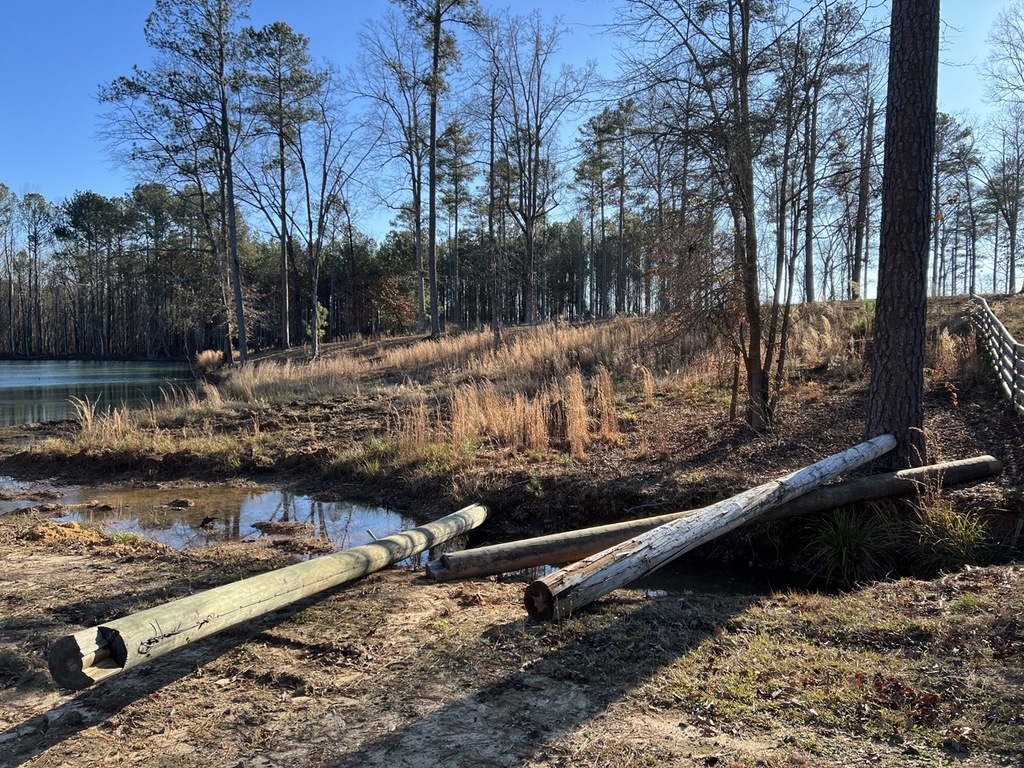
since the day we moved in, one thing about our pond really bothered me.
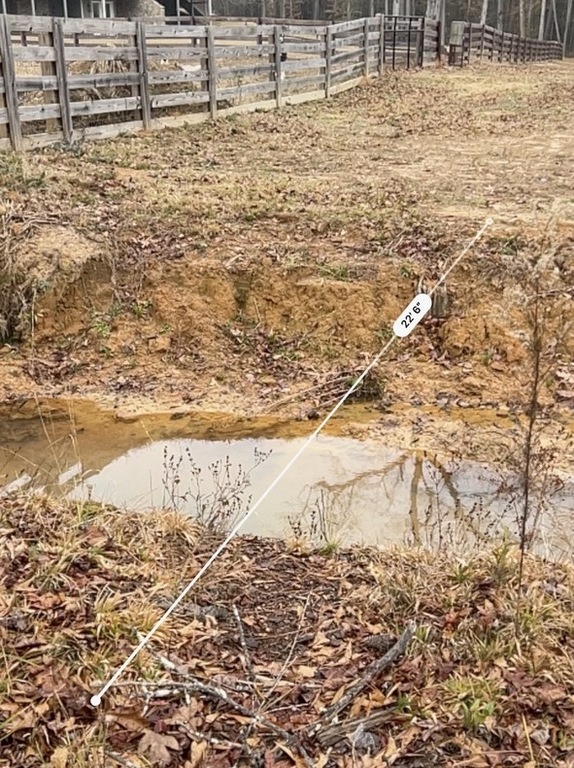
the front corner of it -- basically in our back yard -- is a run off pool that creates a narrow channel. it's around 20 feet wide, so jumping across is not an option. and it fills up to 3 feet deep, so driving across is also not an option.
iOS "Measure" app to guesstimate materials
until recently this hasn't been an issue, as we didn't need a shortcut across this section of the property. but with our container house nearing completion, now we do. so i devised a bridge.
how do you build a bridge?
i asked YouTube and within an hour watched 6 different answers. every tutorial was created by a backyard bubba builder so you know they're legit. no engineering, no calculations, just a nice firm "it'll hold" from a 60 year old guy with a beard who should probably be hooked up to his dialysis.
the consensus is clear: utility poles make a strong base thanks to their length + treated composition. and for deck boards, just use deck boards.
here's my quick design, created in Fusion 360.
(go easy on me, i'm still learning how to 3D model)
the main idea is to space the outer utility poles equal to the width of my heavier vehicles, such as the tractor or UTV. this lets them cross the bridge without snapping any 2x8" deck boards.
gathering the utility poles
lucky for me, our property already had a pile of a dozen utility poles. i'm not sure where they came from and i'm not going to ask. but apparently you can also source these on Craigslist and similar places for < $100 /each.
pile of a dozen poles, 18-32 feet long each
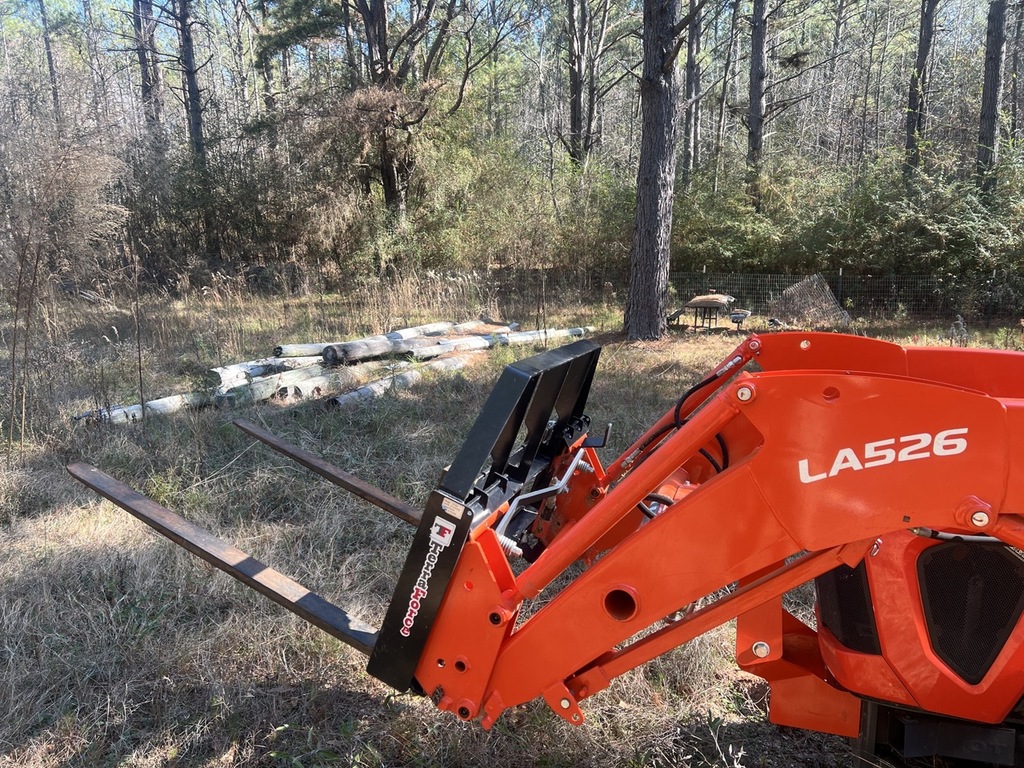
since the poles were ~1500 feet away from the job site, i needed a non human way to move them around. we tried scooping them with my tractor + pallet fork attachment, but this has a few challenges.
figuring out each pole's center of gravity
first, utility poles are tapered. so it's not intuitive where to grab the pole since the middle (weight) is not the middle (length). but after some trial and error we were able to move them 100s of feet at a time before it tipped off my forks.
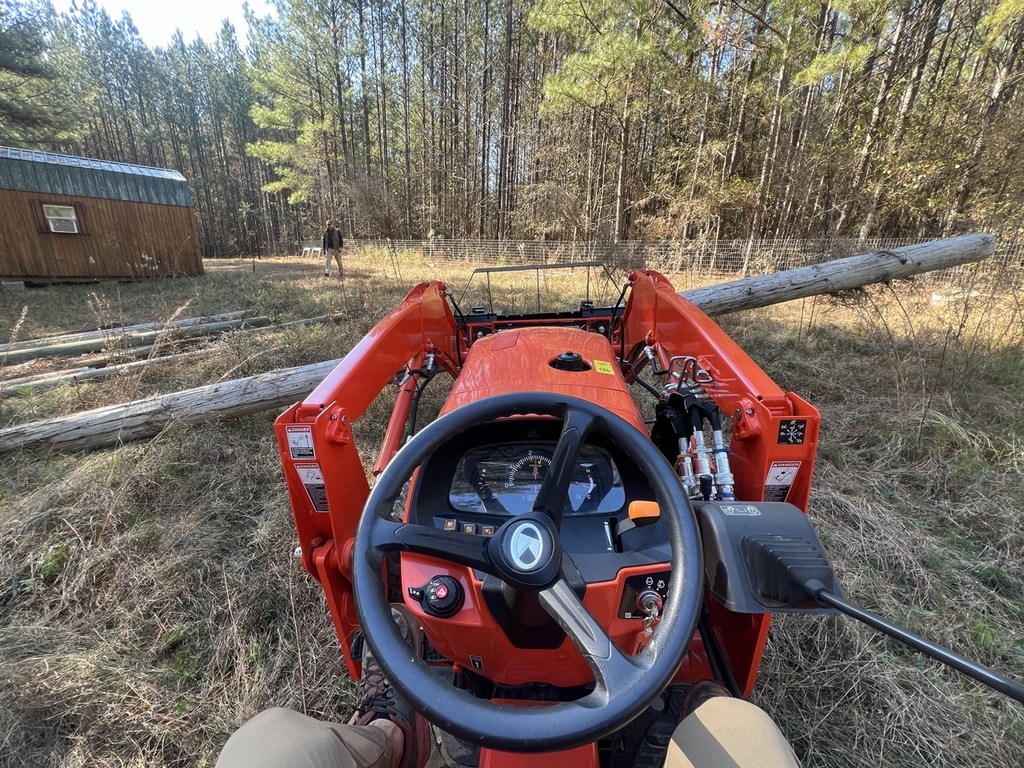
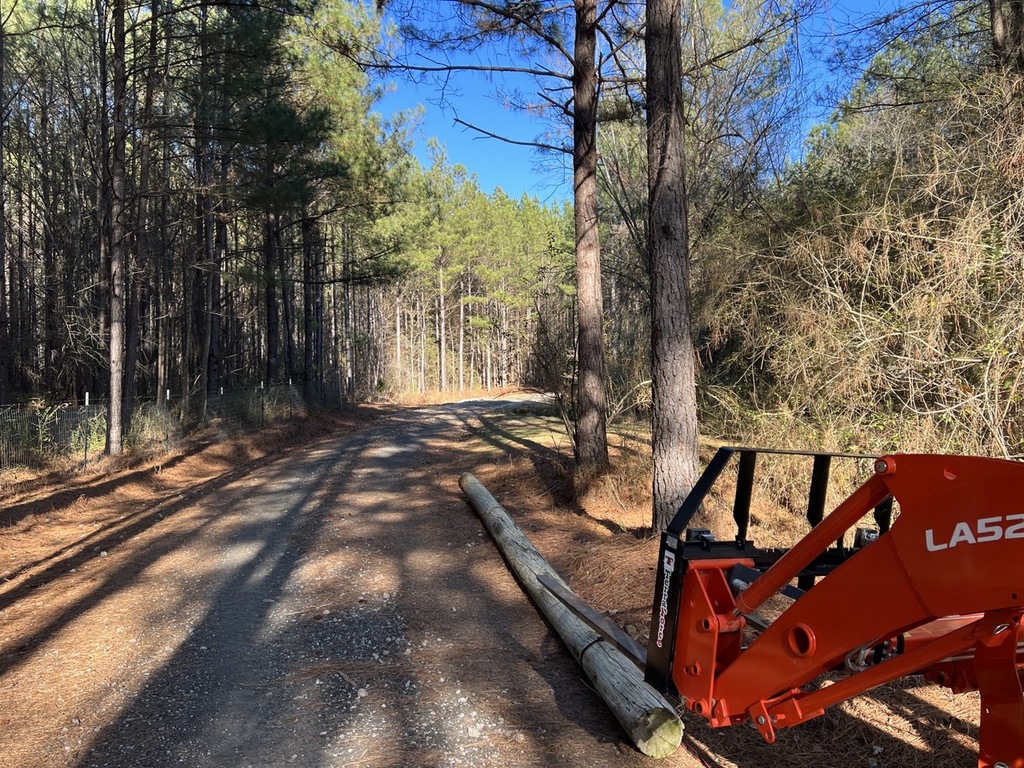
slowly driving utility poles ,1000+ feet to job site
eventually however, we hit a snag when one of the poles was too wide for my driveaway. we got stuck between 2 trees, so i changed strategy and simly dragged the pole with straps, long ways down the edge of the driveway to not tear up the black top.
i drove the tractor backwards and this worked great
after a full day, we finally got the poles where we wanted them by simply dropping them over the top of the fence, where they rolled somewhat into place on their own. however in the process of doing this, i broke 2 fence boards. we'll repair those in a bit.
2 fence boards to the right snapped when i dropped these poles
preparing the job site
from the little i know about regular construction, you typically beat mother nature down with excavators and concrete to create level surfaces for construction.
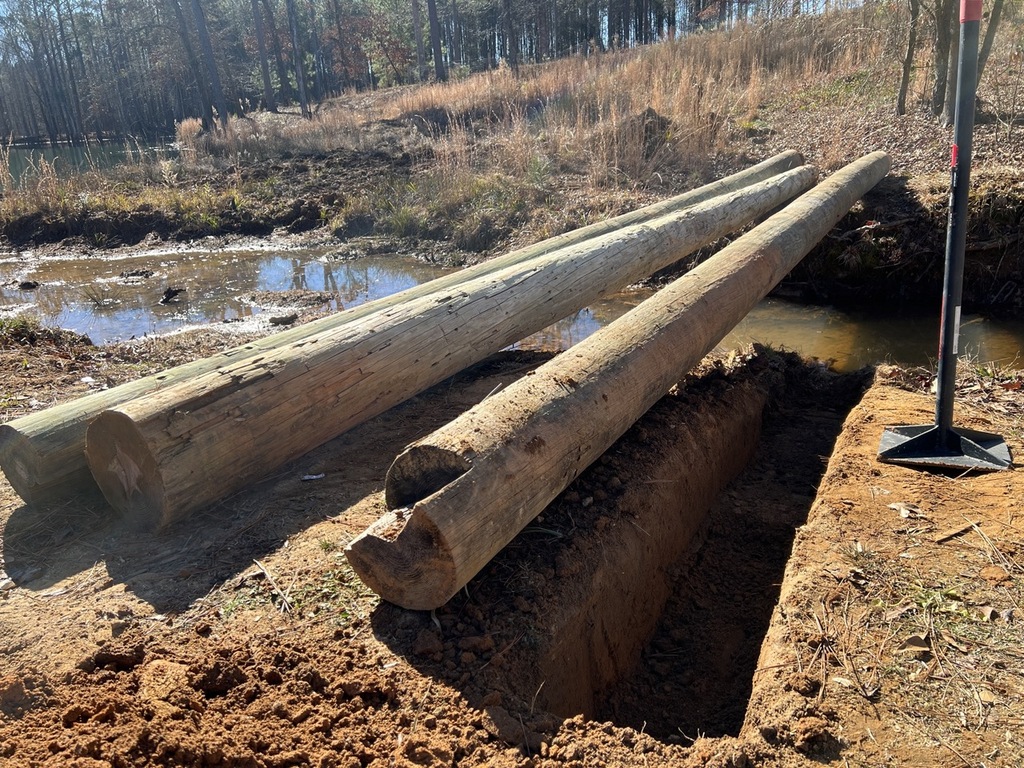
rougly spacing the poles before digging
in our case we had to do the opposite, making our bridge fit into mother nature. practically speaking this meant spending nearly 1 hour per each of the 6 touch points where our 3 utility poles sit near flush in the ground.
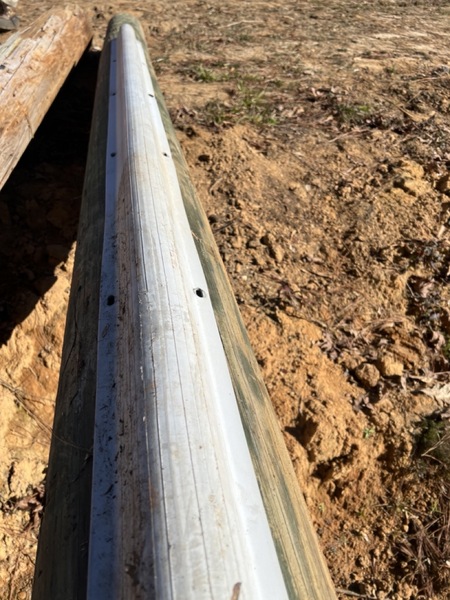
but first i had to slowly crawly across the pole to the left (above) and remove dozens of rusted bolts holding in the grey U-Guard.
with the poles stripped we got to work. the process was this:
1. measure the pole's diameter 2. role the pole a few feet to the side (non trivial) 3. dig a trench that deep + wide to hold it snug 4. tamper the dirt, pour a bag of gravel, tamper again, place the paver, drop in the pole
it looked like this:
digging a trench, tapered to more shallow by the water
placing + tampering dirt, gravel, paver (actually a retention wall block)
rolling the pole back into place
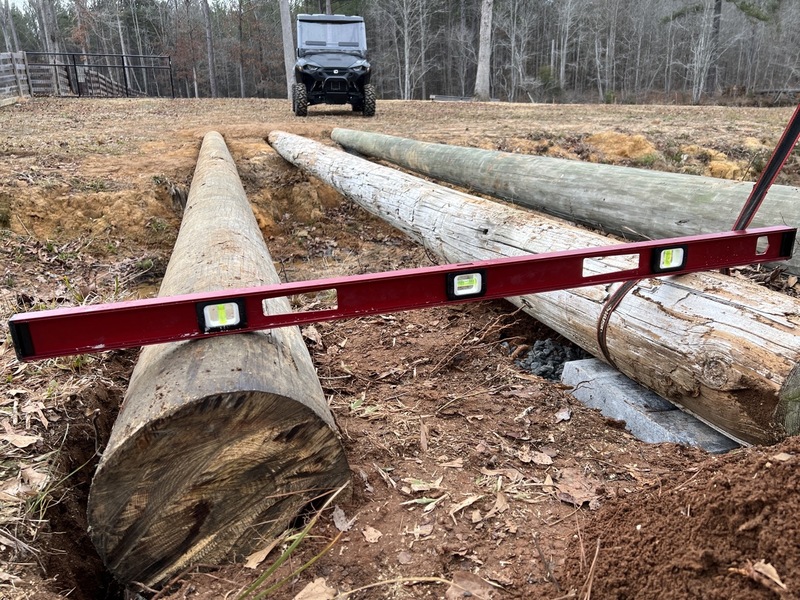
we did all the poles on 1 side, before cross to the other side and doing the process again. along the way we measured the gaps between the middle + side poles, ensuring we'd have the most strength where vehicle tires would cross over.
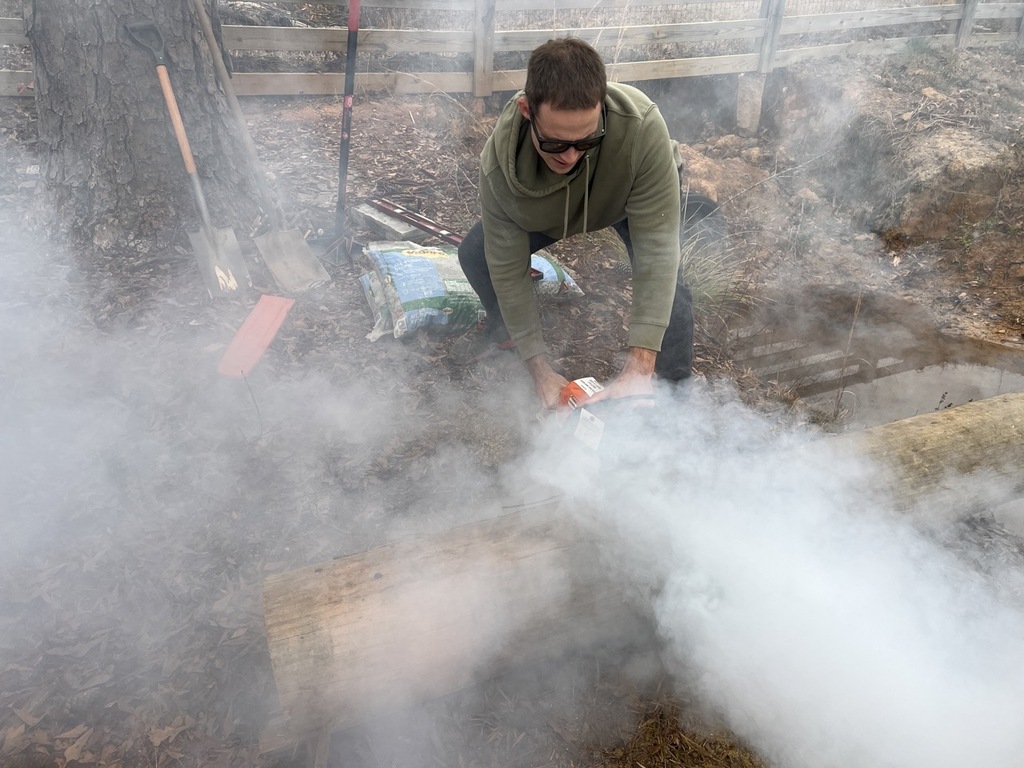
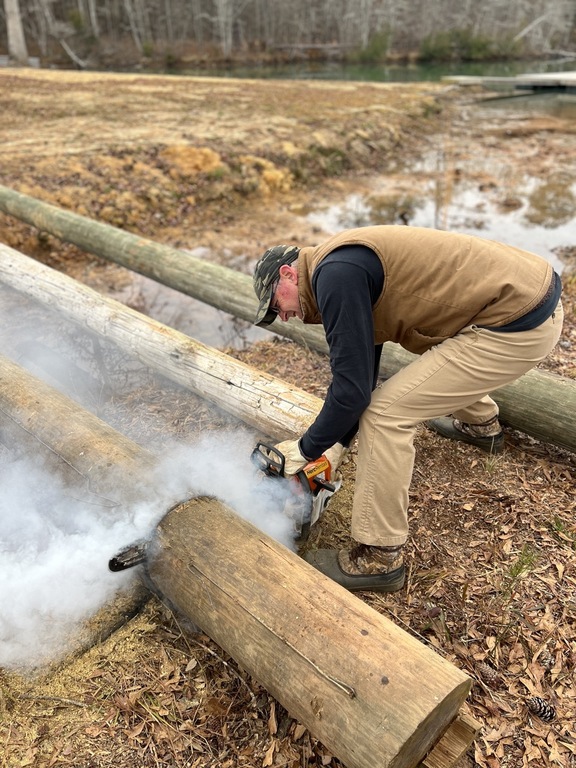
but before we could start the other side, we had to make the poles the same length. unfortuantely, all 3(!) of my chainsaws couldn't handle the utility pole's density so i rented one at Herc for 4 hours @ $81.
smoke was the pressured treated chemical, burning. smelled like death
believe it or not, we spent about 25 minutes cutting each pole. at around 12" in diameter, that's just half an inch per minute. so it basically felt like we weren't making any progress, the whole time.
my dad and i switched back and forth to keep the pressure on the blade as we pushed through the treated material.
my dad LARPing in camoflauge - i still own none
this took about 5 hours
with 3 same-length poles, leveled and submerged in the earth, it was time for the top layer.
laying the deck boards
in theory this is the easy part. we put in the time to ensure a level and evenly spaced set of utility poles. but yet again, the sheer toughness of our materials worked against us.
it only took about 5 minutes to dry fit the boards (aka drop them down) for a vibe check. knowing exactly how mcuh we'd space them made it impossible to calculate the exact number we'd need, and we later went back to Home Depot for 3 more boards to finish the job.
laying pressure-treated 2x8x8 boards
with 3 poles underneath 8 foot wide boards, we decided to put 2 screws in at each touch point. so 6 screws per board * 39 boards => 234 screws. i bought a box of 240, 3.5" deck board screws.
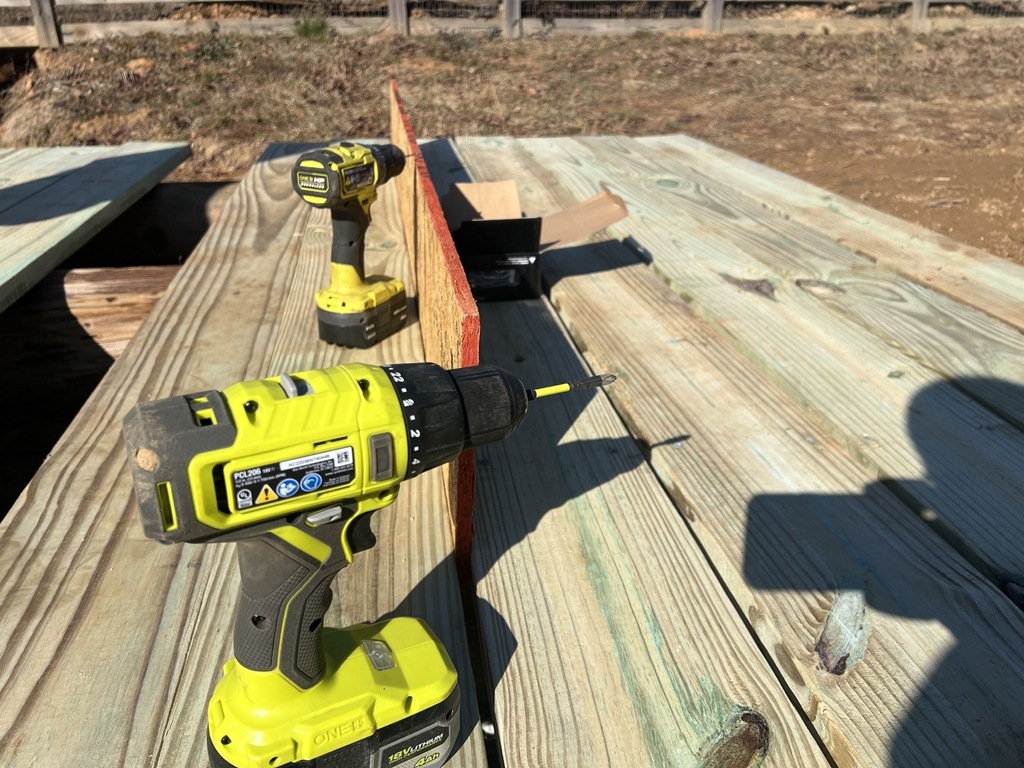
the problem is driving them through 2 pieces of treated lumber with [cheap] battery powered Ryobi drills. i do have higher powered drills but they're corded, and i wasn't about to buy 200 feet in extension cables to run them to our job site.
so our system was slower. my dad would drill pilot holes with a specialized 6" long drill bit, then i would drive the screws. we had to buy this drill bit, as well as new screw driver bits, to prevent massive head stripping.
spacing each plank, 1 driver for pilot holes and the other for screws
as we laid each board we used a spare piece of particle scrap to act as the spacer, then a mallet on the far end to knock the board into place, and finally a tape measure to keep the boards in sync with the utility pole true center as we laid them down.
boards below are fastened, boards above are not
and remember how utility poles are tapered? you can't simply place each board using the previous board as a guide. you'll eventually run the boards off 1 side of the bridge at an angle. despite our intellectual awareness of this problem, we actually succumbed to it twice! so we fixed it by over-compensating 1/8" inch in the opposite direction for 4-5 boards to get back to center.
it took around 4.5 hours just to lay the deck boards, which included 2 trips to Home Depot for more drill bits and extra lumber. when we were up and running i clocked us and it took 5.5 minutes to lay each of the 39 boards, or 1 minute per screw.
repair work
that fence we broke earlier... before wrapping up the bridge we decided to fix it. which was almost a bad move, because we only had 240 screws and needed 234 for the bridge (39 boards * 6). but somehow we got everything done with exactly 1 box.
cut + installed 2 new fence boards from the 2x6x10s we bought earlier
finishing
to hide our lack of perfect center on some of the board placements, we threw down a chalk line on each side of the bridge and used a circular saw to shave off anywhere from 1/8" to 1.5" of material.
blue chalk line from end to end, on both sides
as the sun was going down around 5pm, we began shoveling dirt on either end to create a natural ramp. the idea is to walk (or drive) directly onto the bridge without the feeling of a step up, or a ledge.
partial ramp, which we tamped down every few scoops of dirt
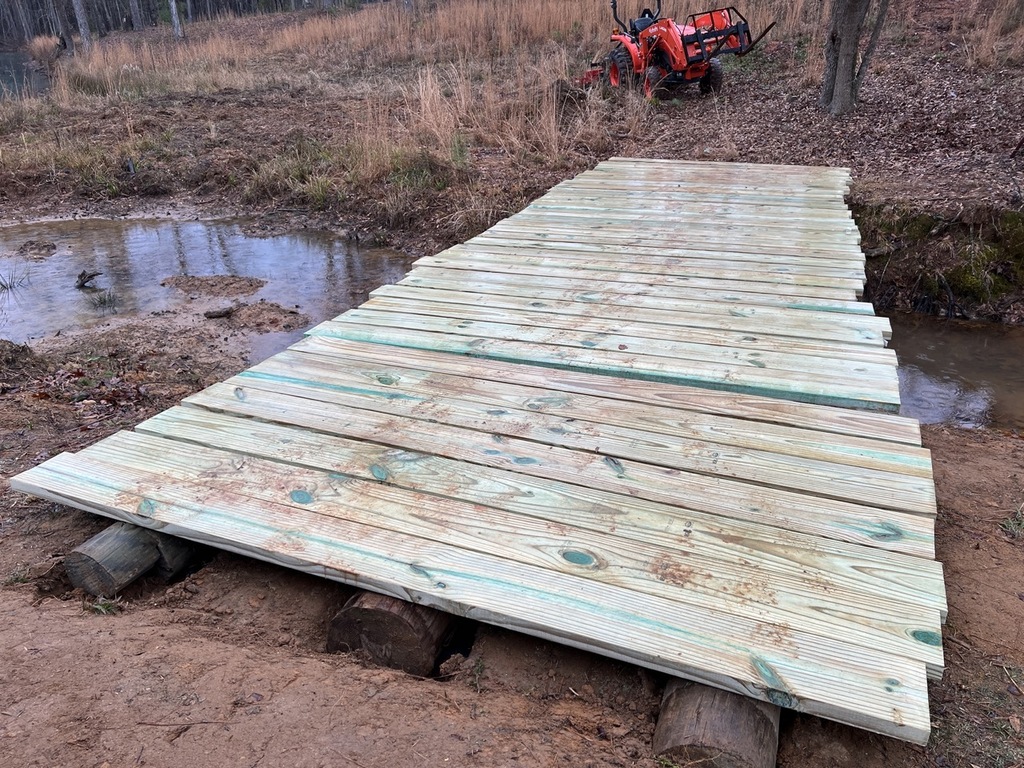
note: we didn't finish building the ramps by sundown, so these photos are not the perfect end result. but i'll do that on my own and add another picture when it's ready.
finished ramp, pond view in back
between these shots we had a dry spell (low water level), then a storm (muddy orange), then a few days of rest (more relaxed brown). typically our pond is more of a blue/green shade, pinky promise.
costs
the biggest cost in this project was time. we spent 25 hours working over 3 days. it's at least a 2 man job and i figure the labor alone would be at least $2k if i hired pros. and that's just $40 /hour.
a couple other small costs that i'm not counting, because they're tools i can use again later:
- chalk line, $8.97 - extra long 5/32" multi-material drill bit, $7.97
summary
plopping down 3 utility poles and 39 boards doesn't sound like a big deal. but leveling, straightening, stabilizing, and coordinating so much weight across an eroding channel makes it a teensy bit more complex.
i do think we have a system now, however, and i'd feel comfortable doing this work for a customer if someone wants to pay me a few thousand bucks. i'm already thinking we could use 1 more bridge on the other corner, just for fun.