one of our pastures does not have a hay barn, which makes it useless for wandering animals.
hay barns not only provide shelter from the rain (and goats like shelter), they also protect hay from becoming mildewy. to activate the pasture for grazing -- aka free lawn care -- i need a hay barn.
shopping for supplies
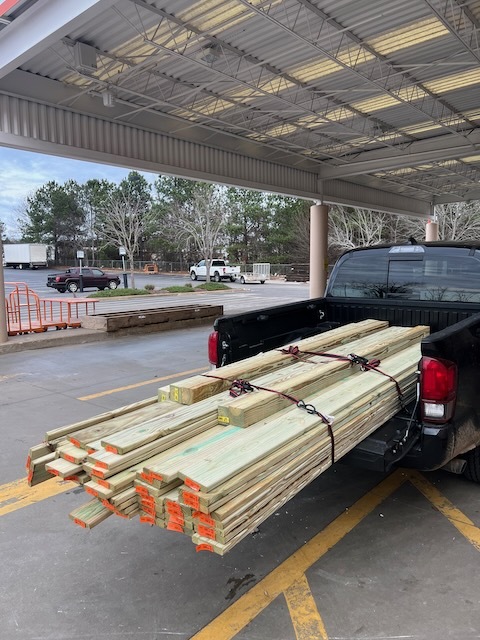
on Saturday afternoon i took photos of an existing hay barn, wrote down a few measurements, then went to Home Depot.
5/4" x 6" x 10' boards (47x), 4" posts (6x)
i unloaded materials directly into the pasture, figuring i'd do all my work on-site vs going back and forth to my workshop in the barn. in case of rain i tarped it, but all the wood is treated anyway so it should be fine.
planning the build site
on Sunday morning i slept late, did my usual coffee + book reading in the library, then got to work around 10:30a. the plan was to finish the whole thing in 1 day.
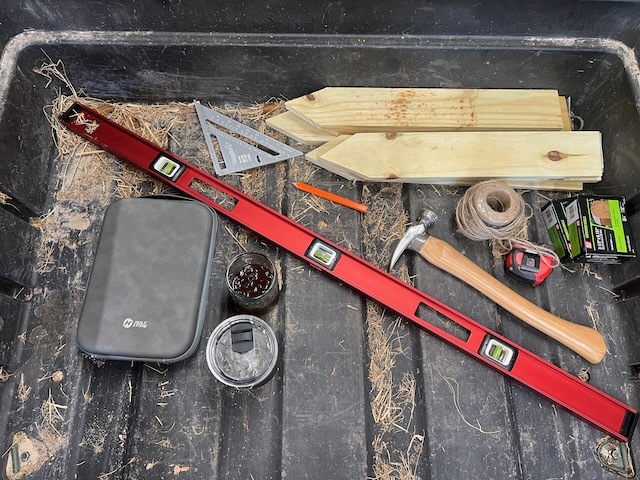
loading up the UTV with today's tools
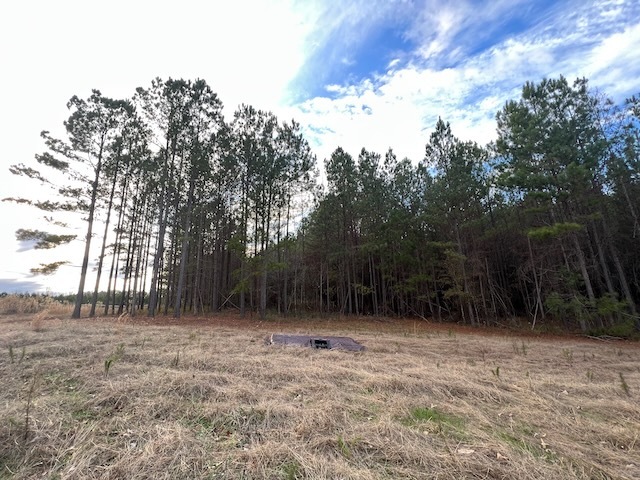
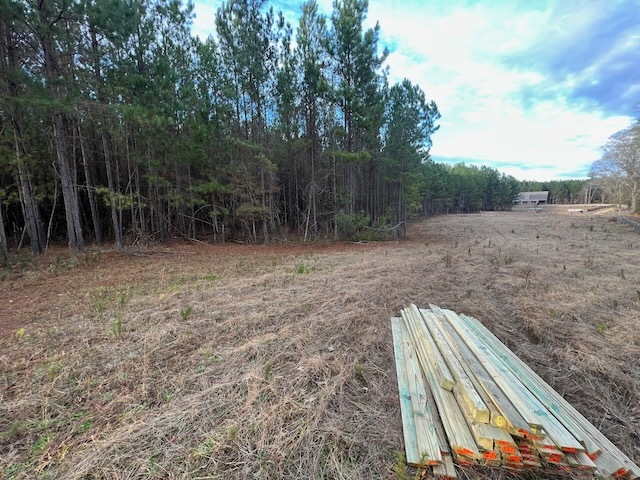
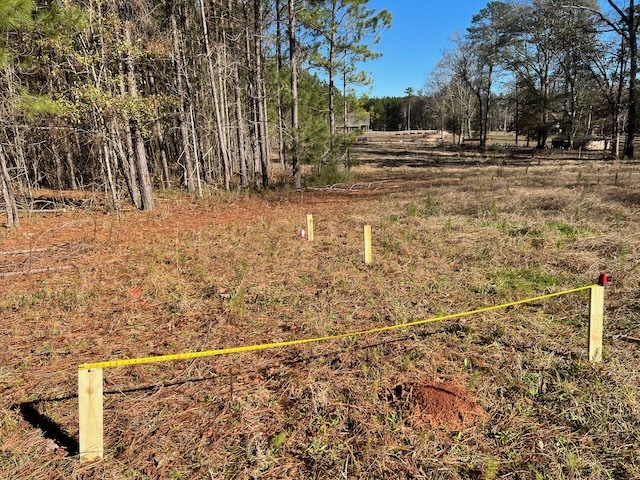
i spent several minutes choosing a build site, ultimately settling on this inlet near the west border of the property. i wanted the barn somewhat hidden from view on the main drive, but not too close to trees as their fallen branches could damage the roof.
a pile of potential
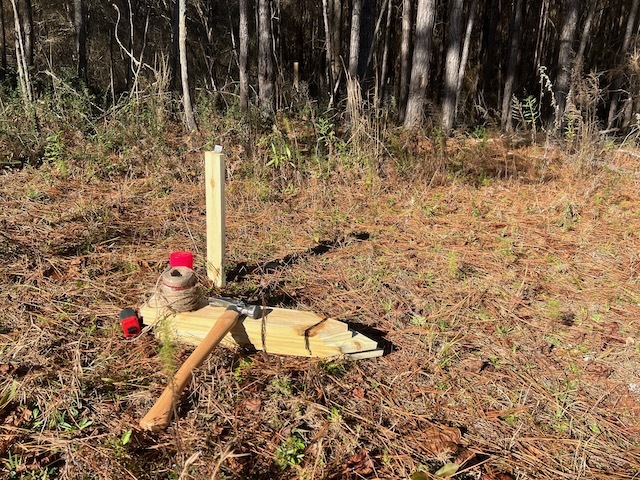
my design was simple: 20 feet wide, 10 feet deep, 6 feet tall, with walls on 2-3 sides. using the stakes i made from leftover bench project lumber, i got to measuring.
preparing stakes for the post placement
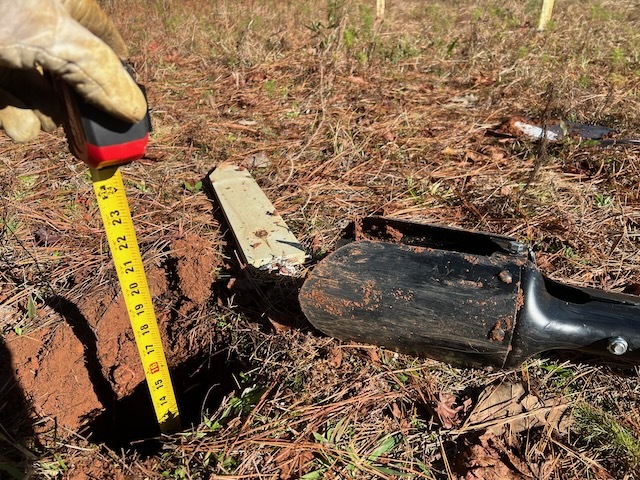
the true dimensions were closer to 19 ft by 9.5 ft, as i purchased 1.25" by 10' boards and wanted a little overhang on the sides. this was all accounted for in my measurements of course. and i used a post hole digger ($69.98) to manually dig 16-18" deep for each of the 6 posts.
measuring my holes
my build strategy is heavily inspired by this video, namely the use of string, stakes, and temporary supports for leveling the posts. oh and the Pythagorean theorem. haven't used that since high school!
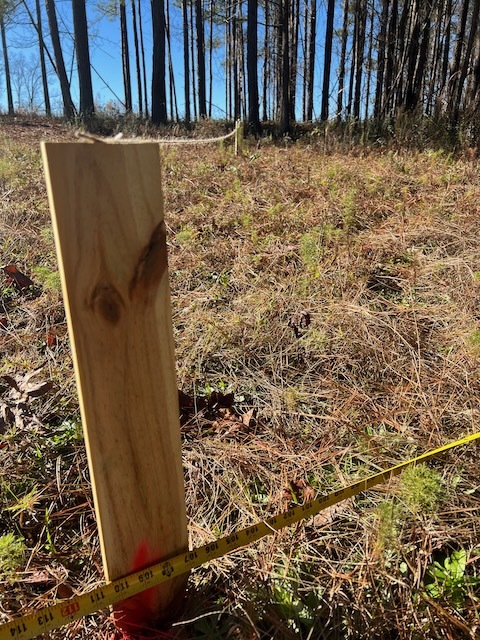
setting stakes - tedious and not fun
how it works: determine your side lengths, square them, add them, then take the square root. that's your diagonal distance, which helps ensure your stakes (marking the post holes) are accurate.
taking my 9.5 foot short side and 19.5 foot long side, i had (9.5*9.5)+(19.5*19.5) => 470.5, whose square root is 21.69 feet. i marched diagonally across from my first corner post with a twine this long, connected to a stake, to ensure my opposite corner was square. phew!
squaring up a corner with science
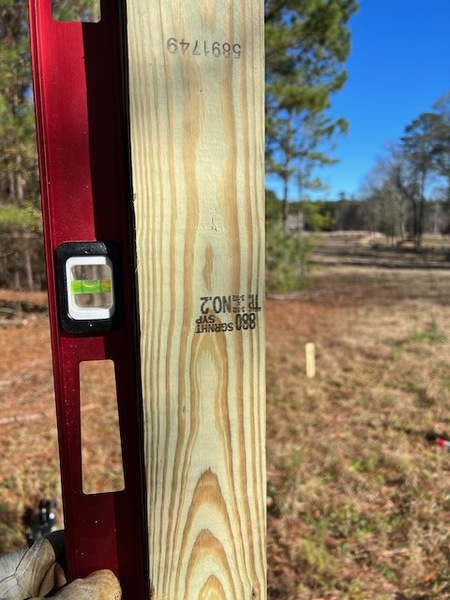
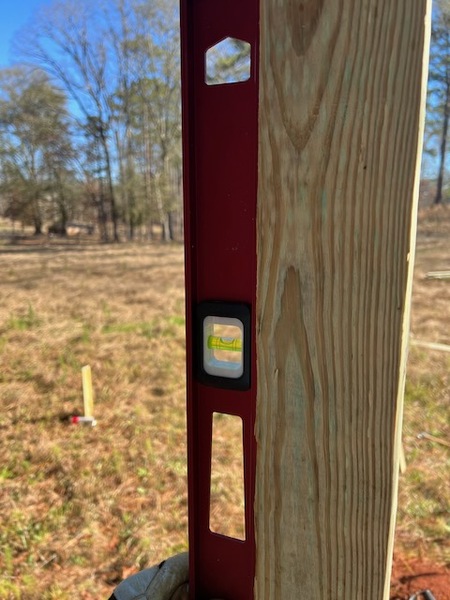
with my stakes in place i began digging holes. as i surrounded each post with the leftover dirt i checked that they were vertically level in 2 places (front/back, side/side).
putting up walls
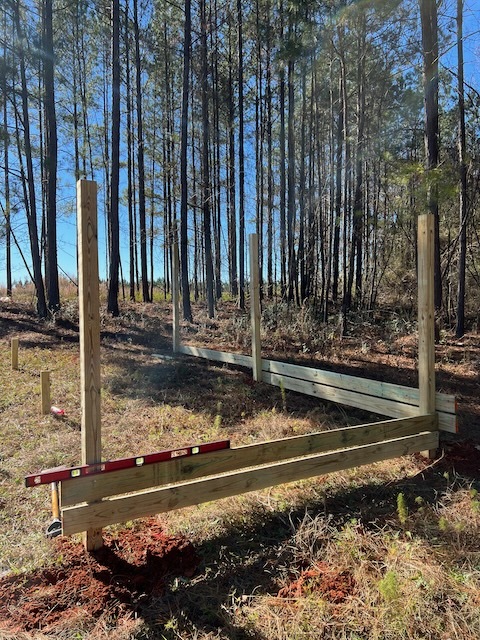
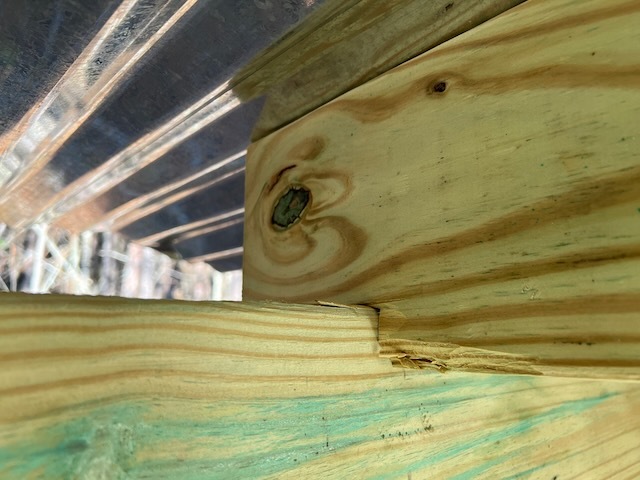
satisfied with the angles i nailed the bottom-most wall boards between the posts to reinforce their positions. unlike the other hay barns on our property, where the wall is continuous 2x6 boards, i wanted a small gap between each board for airflow and a bit of visibility. it would be nice to know from 200 yards away, for example, that an animal is in the hay barn vs escaped.
my first short wall
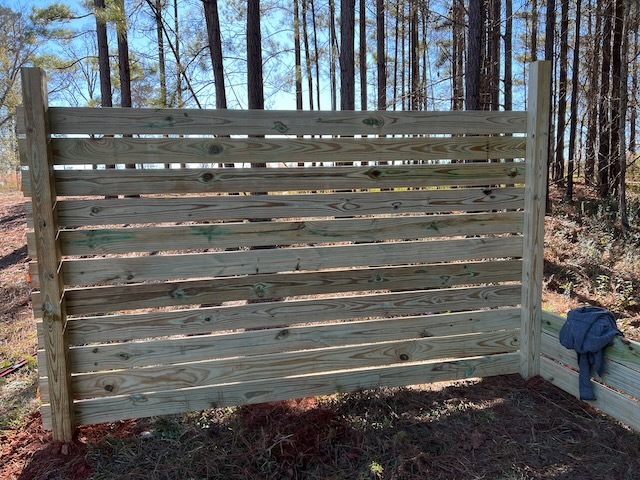
for the first several boards i measured a 0.75" gap on 1 end, nailed the board, then used a level on the other end to make sure it wasn't crooked. this took forever. so i got a better idea: rip a spacer with the circular saw to get a perfect 0.75" gap every time.
making my spacer
oh yeah.
using my spacer
with this strategy the walls came up quickly, but soon i had to contemplate the roof, which starts with rafters.
preparing the roof
we need a slight pitch on all roofs to handle rainfall runoff, so i decided to make it 76" in the front, 72" in the back. even a 4" pitch, sloped over 10 feet, is plenty for rain. and we don't get snow in Georgia so no worries beyond that.
my first (horrible) attempt at a birdsmouth joint
the challenge for me here, besides being a total noob, is that i built the structure on a downward sloping part of the pasture. so i decided to treat it like 2 separate buildings, each with their own roof pitch and rafter strategy.
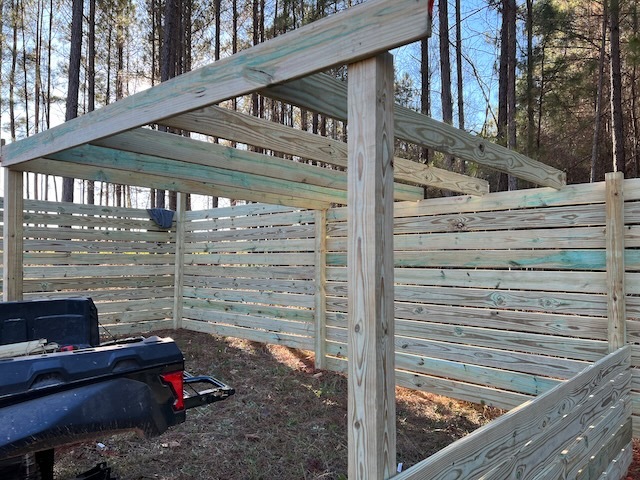
on the right side i did things the typical way, positioning boards perpindicual to the walls, spaced 24" on center. but on the left side i went... another direction. here i simply laid the boards flat, parallel with the upcoming roofing. as a byproduct this gives a bit more height on the left side, making it easier for a tractor to get in there and place large bales of hay.
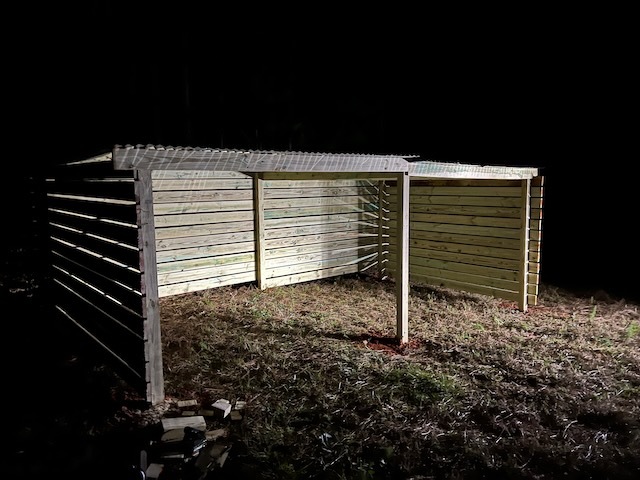
going after hours
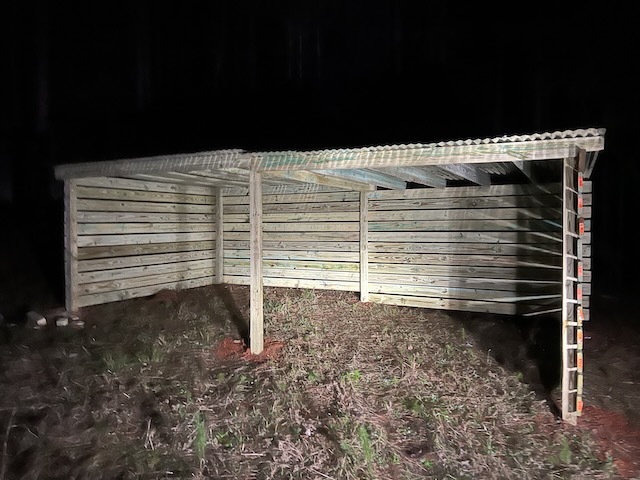
the sun went down at 5:30 so i turned on the UTV's headlights and kept going.
this will not be a 2-day job
i finished after 8 hours at 6:30p. not bad for my first construction project.
finishing touches
the next morning (today) i cleaned up the work site and chopped off the extra board lengths around the corners.
apologies for not taking pics while on the roof. it was a bit dangerous, alone and in the dark with sharp edges, so i decided against it.
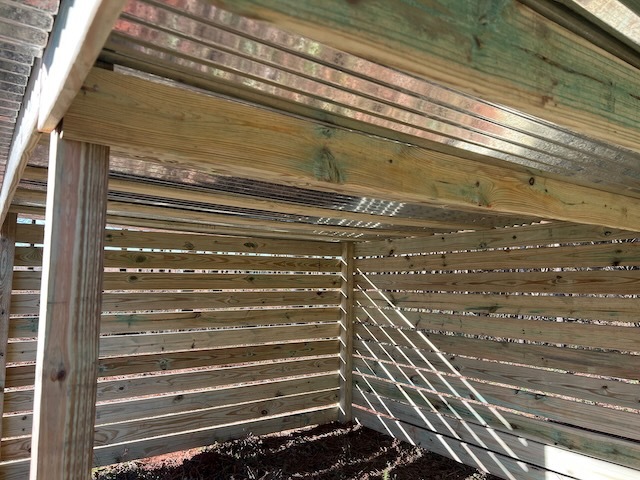
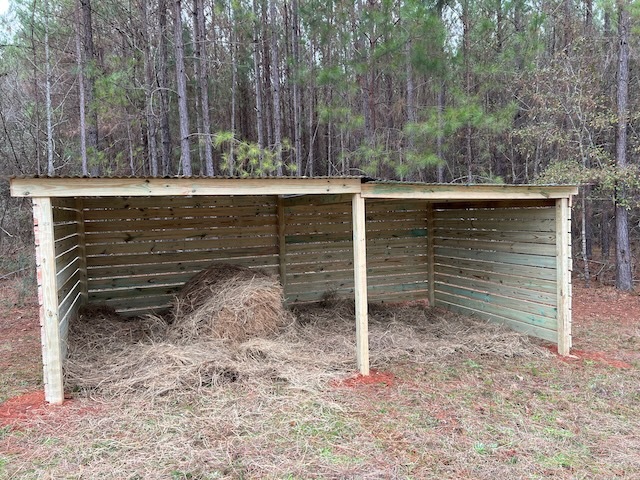
here's another look at the inside so you can see both rafter types.
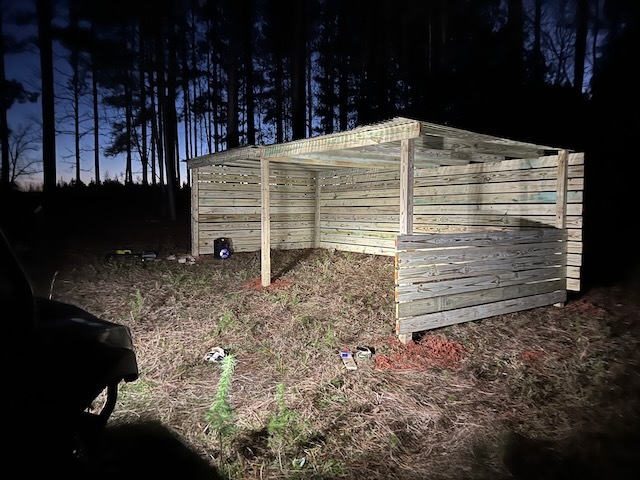
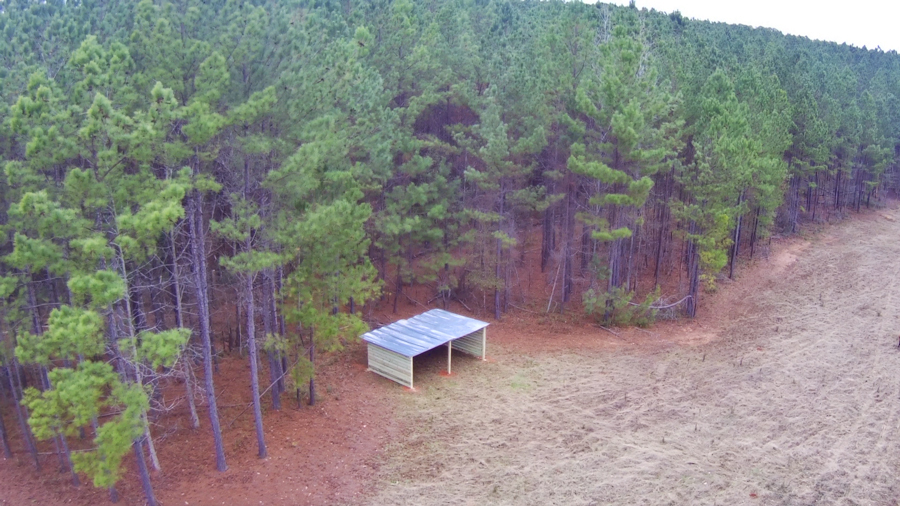
end result
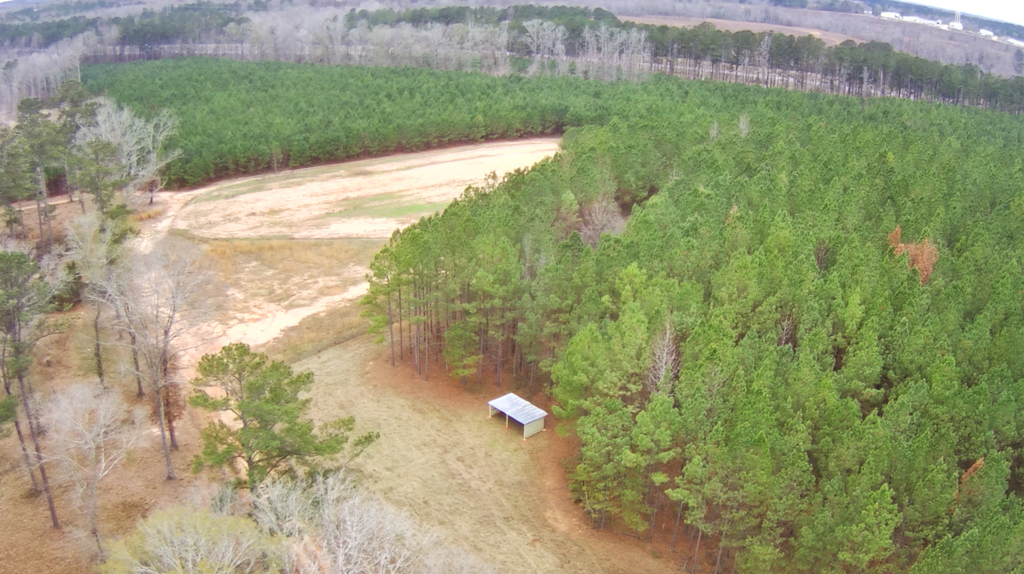
here are a couple drone shots from the afternoon.
west corner facing east
looking west
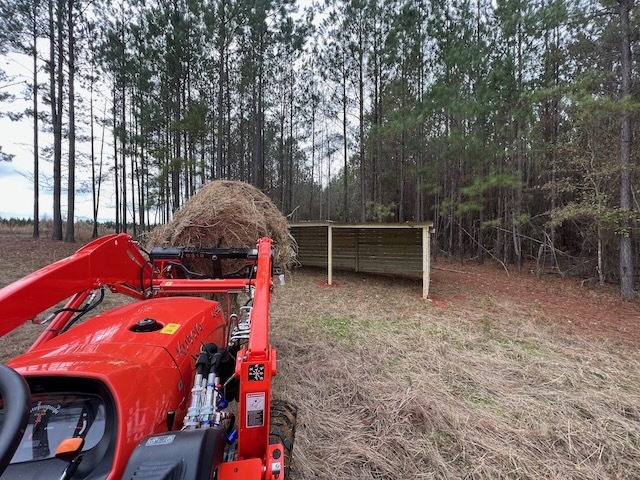
and here's me adding the first roll of hay. you never forget your first roll.
flexing in my new Kubota 3902 tractor
i spread around the hay to make a bed