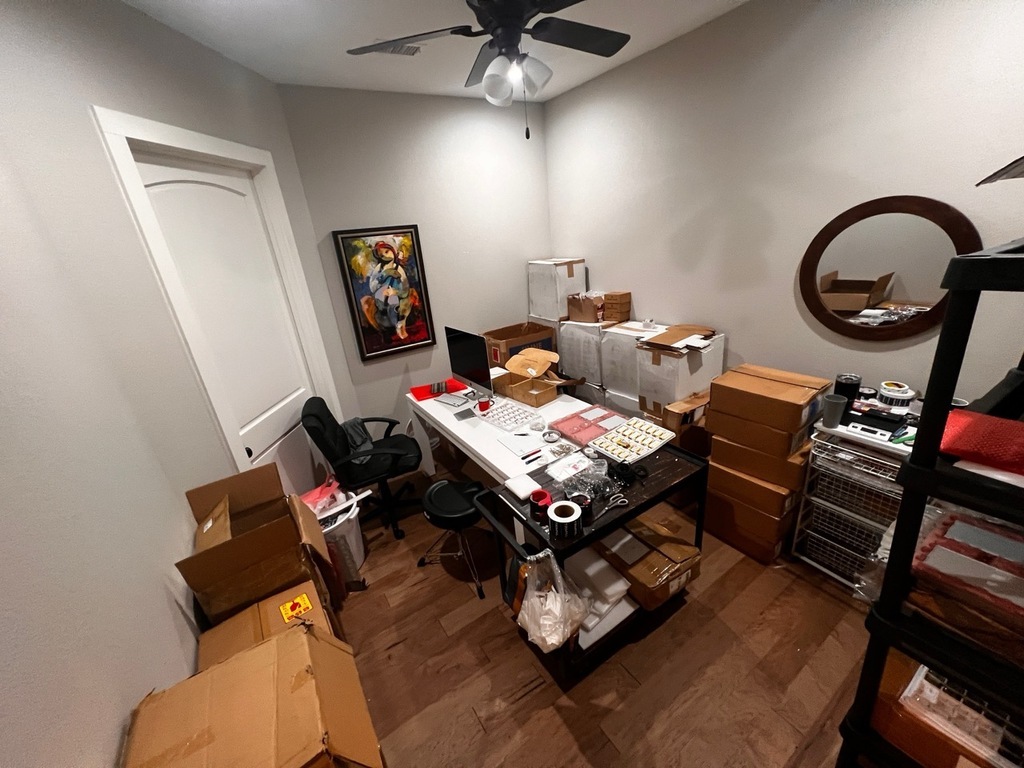
i hired pros for this project and did very little myself, so i'm limiting Hours Invested to just 50. that time commitment encompasses design, logistics, decision making, new equipment assembly, small tasks during the build (e.g. hanging beams), and so on.
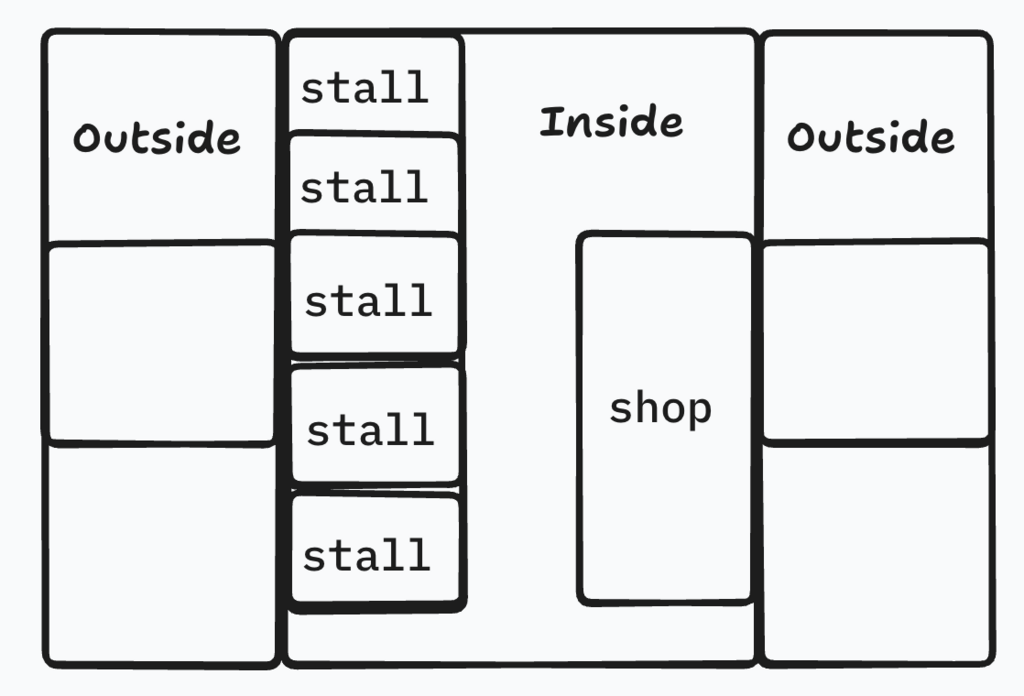
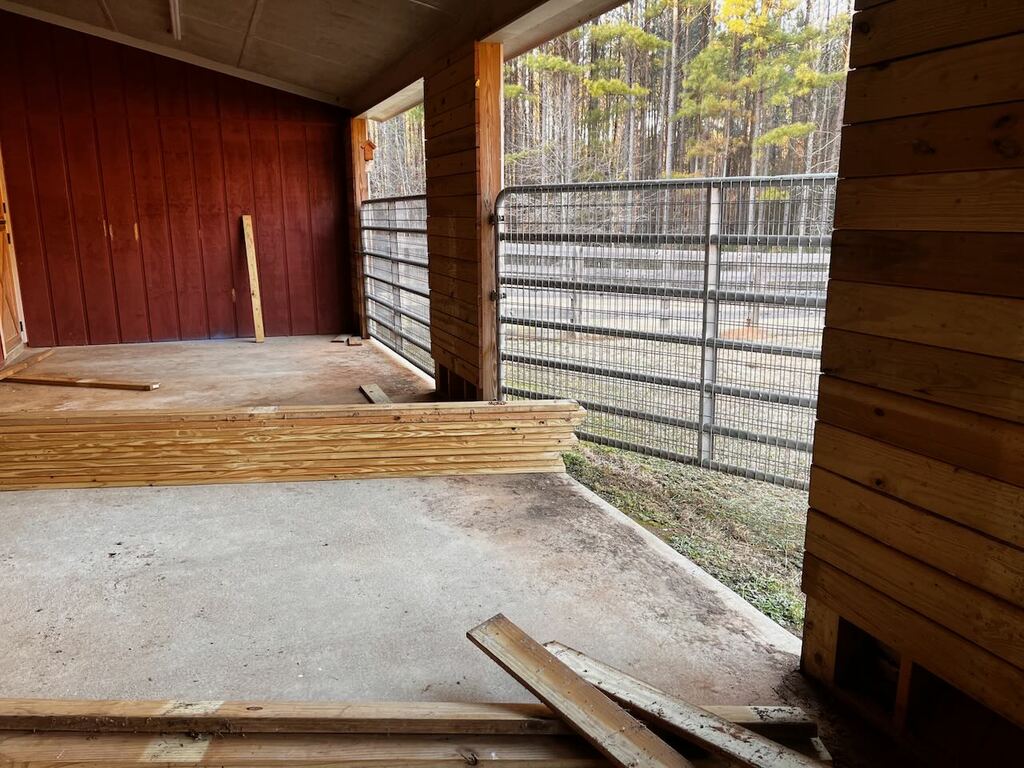
but first, why? well, TRMNL keeps growing. instead of assembling 3-5 devices /day myself we need to make 50 or even 100+. so i'm moving this operation from our windowless basement assembly room to a larger space: my woodworking shop. step 1 - remove outdoor stalls our barn is roughly laid out like this (not to scale). to create my little workshop i removed multiple inside horse stall walls. the 6x areas marked "Outside" are under cover but otherwise exposed. they're animal stalls that we don't need, so we started by removing the separator walls. this project is scoped to the right half of the barn by the way, which is about 22 feet wide by 42 feet long. in the future i may expand the left side, making the total finished space around 60 feet wide by 42 feet long.
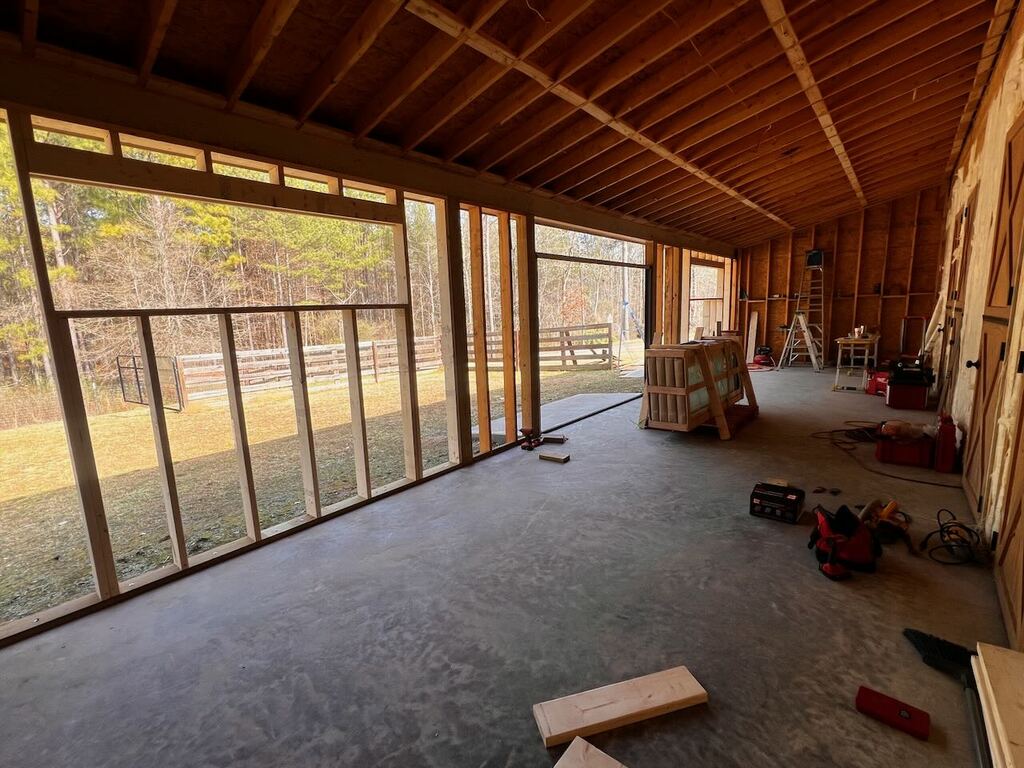
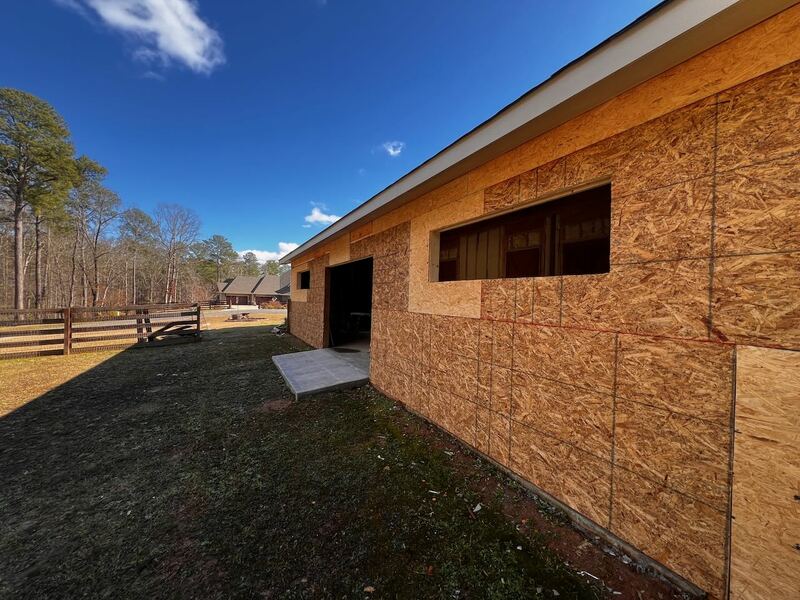
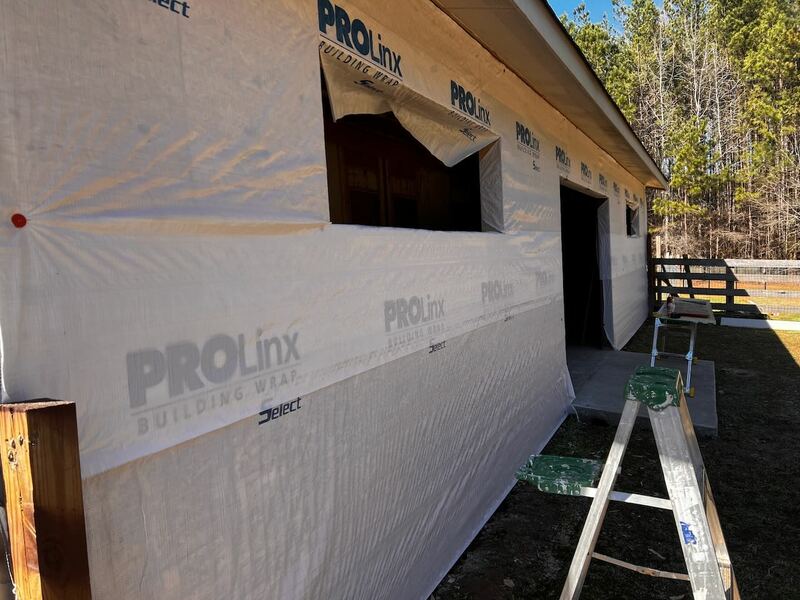
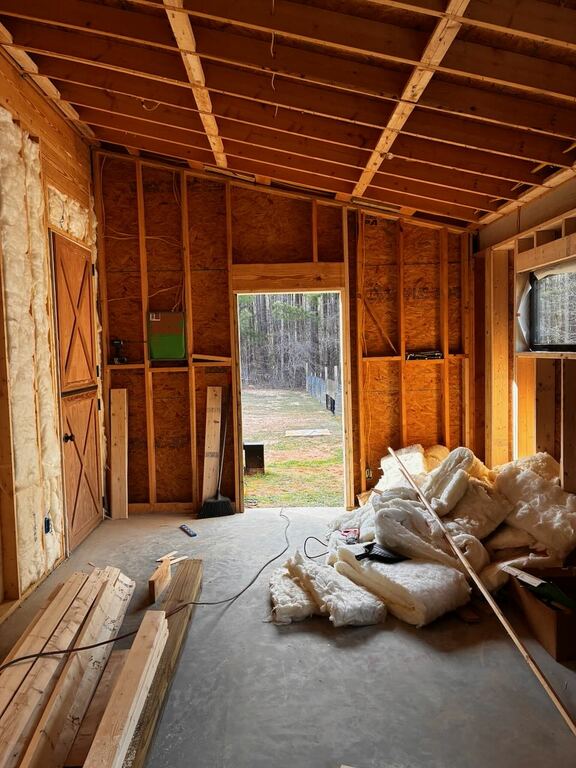
step 2 - frame new exterior walls framing is my favorite part of construction because the progress appears asymmetric. in a couple days the guys did the layout for 2 windows and a 10 foot wide accordion glass door. next they sheathed the exterior with OSB and added weather resistant wrap.
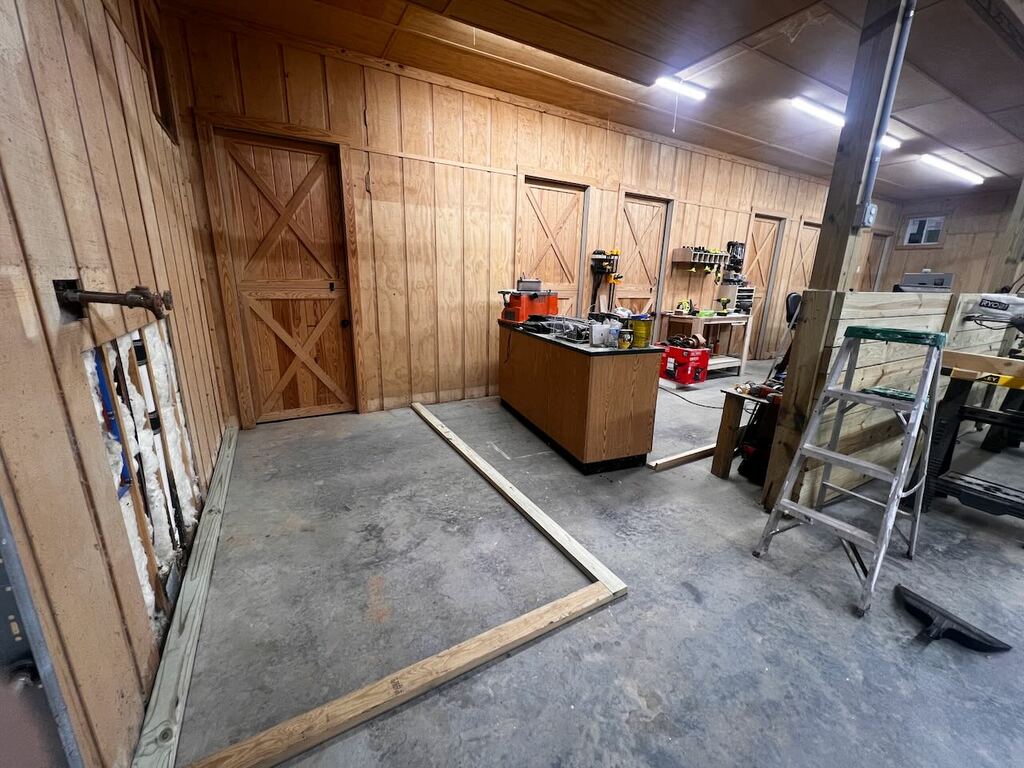
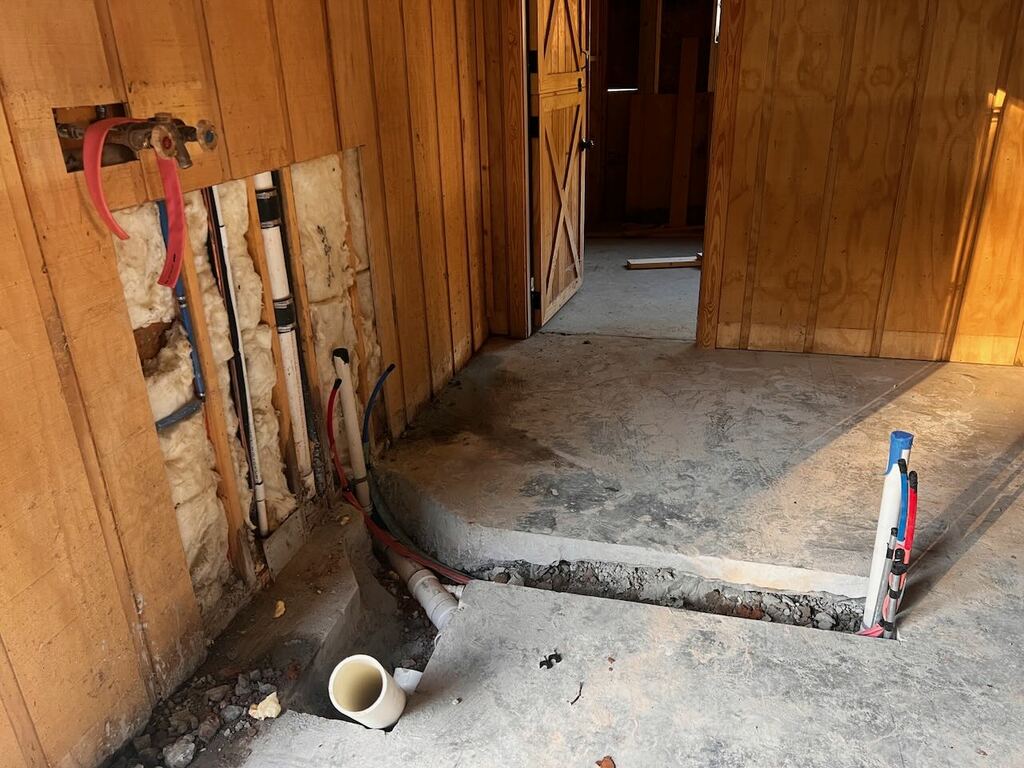
step 3 - bathroom prep back inside they framed a bathroom, approximately 6 feet by 10 feet in size, which leveraged an existing high ceiling window and Dutch barn door. this was an ideal spot for a bathroom + kitchen area, as the upstairs 1 bedroom apartment plumbing runs down this back wall. plumbers come over to trench out the floor. on the back wall are hot/cold for the bathroom sink, front left is for the toilet, and right side is hot/cold for both the kitchen sink and kitchen refrigerator (ice machine).
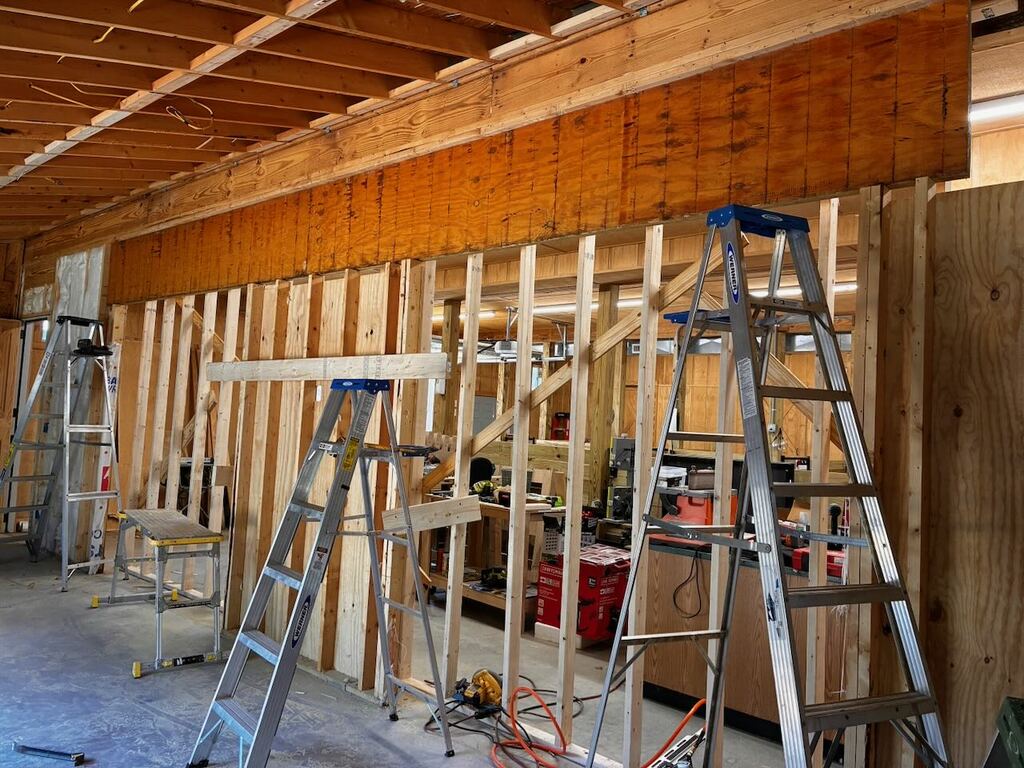
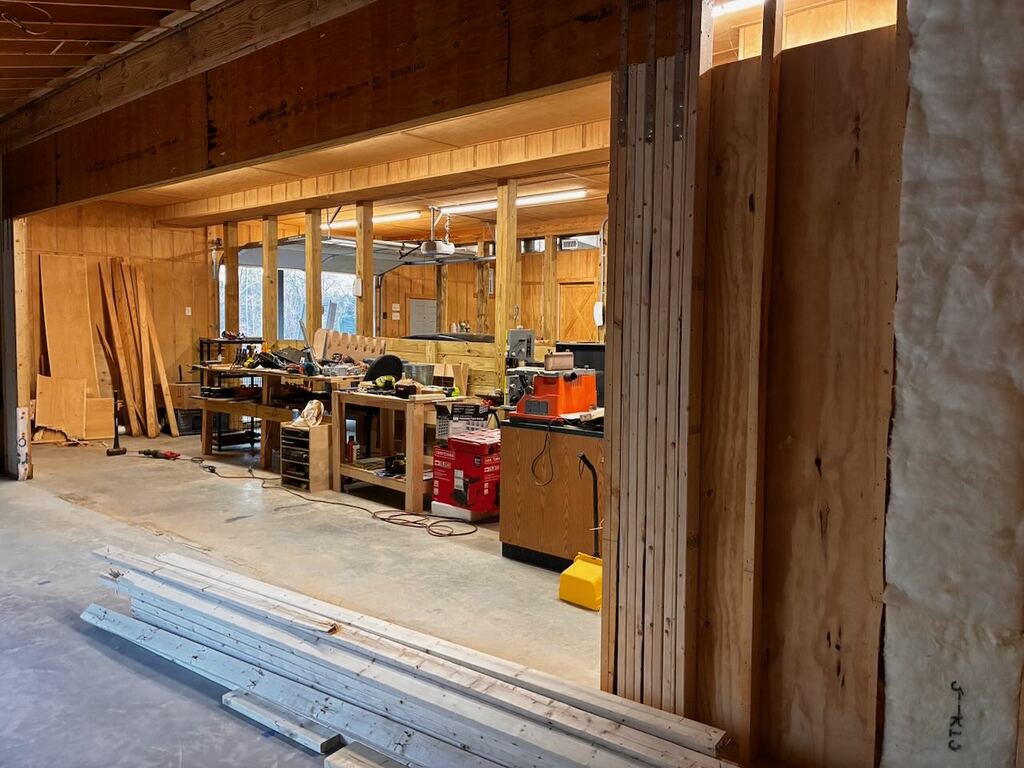
step 4 - tearing down a wall this was the most brutal and risky part of the project. the 42 foot long wall along the right side of the barn was load bearing but i wanted it removed to make a single large space.
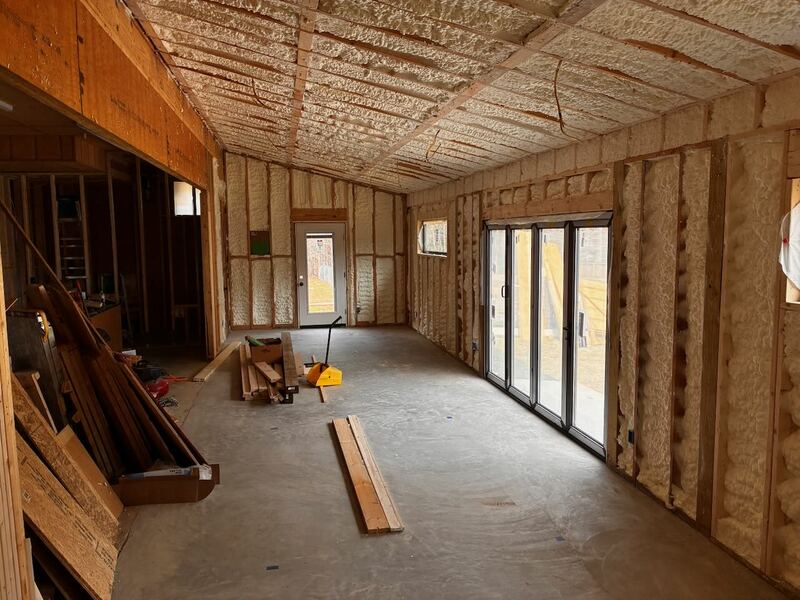
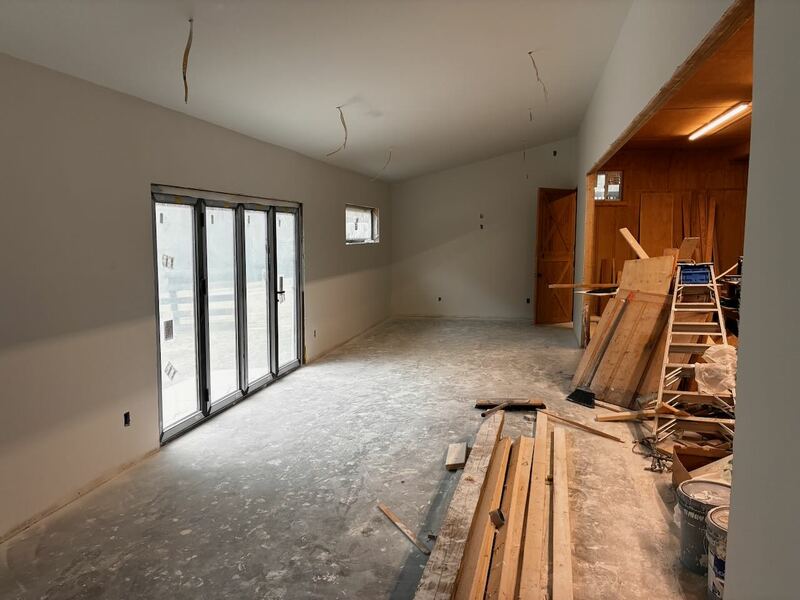
a few of us got together with ladders and a sledgehammer to put in 2x of these 2 foot wide, 22 foot long beams. it was scary, painful, terrible, and a great success. afterword they removed the previous wall's framing, connecting the spaces. step 5 - back door in addition to the glass accordion side doors i wanted a back man door. we already have a back garage door and patio but for quick trips to hop on the tractor, that's overkill. so we framed that out and while at it, replaced the front barn door with a glass one too. step 6 - finishing with all the structural work done, electricians ran a new sub panel for this space, wired up new ceiling lights, a bunch of outlets, then some other guys did spray foam insulation, followed by dry wall.
spray foam costs more but is worth it
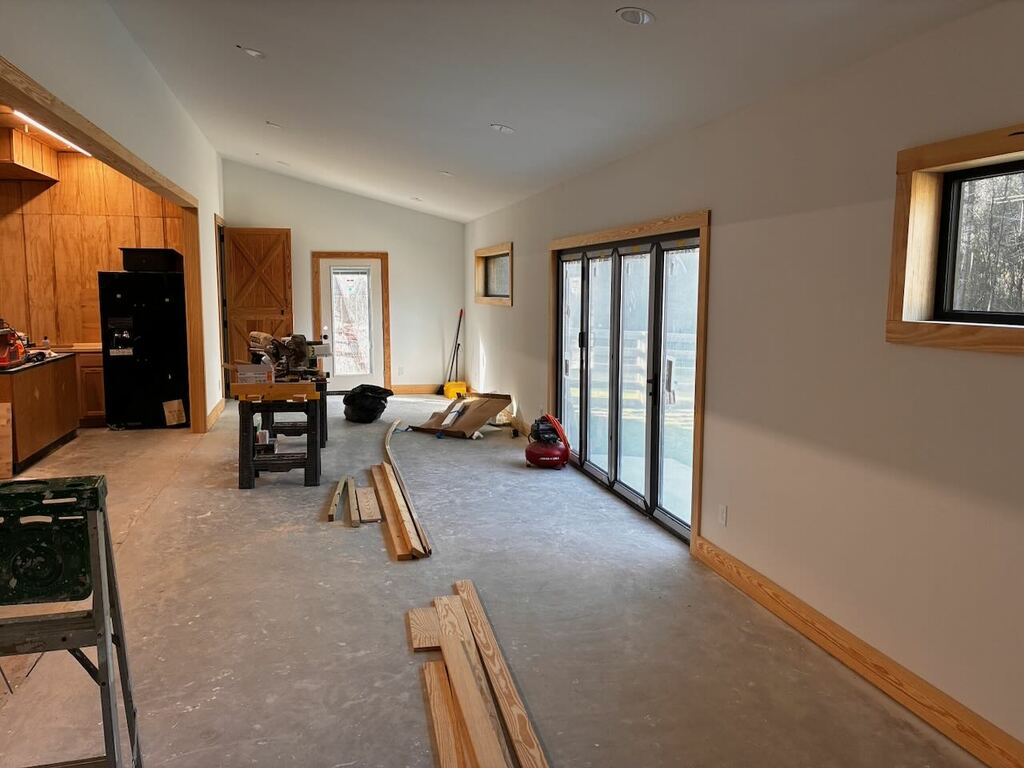
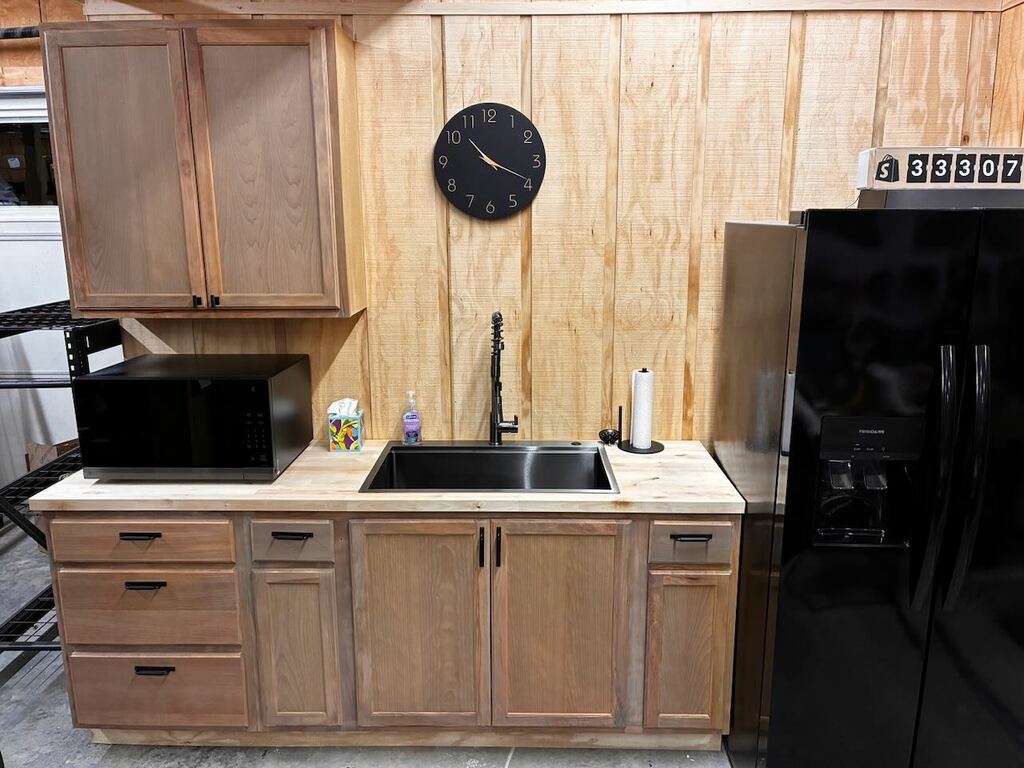
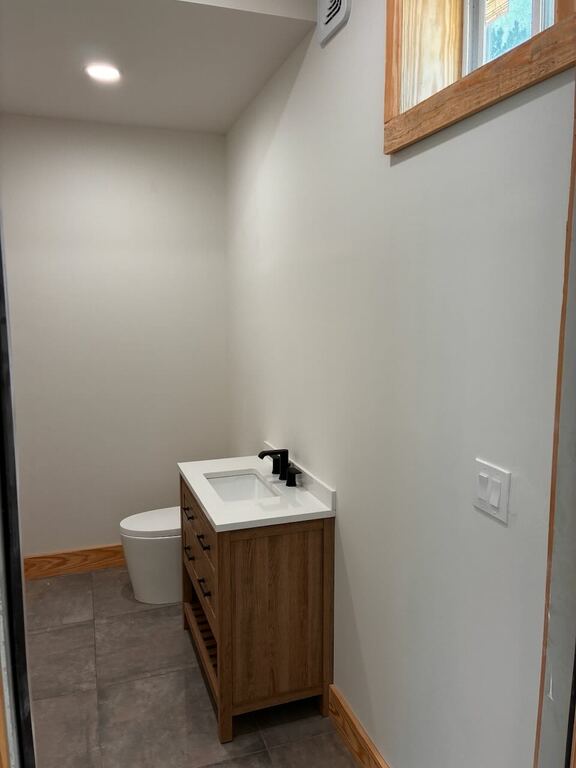
the electricians came back to finish the lighting, and we were almost ready to go live. the team added trim to everything -- windows, doors, walls, and floors, before moving back to the kitchen. step 7 - kitchen i don't have progress pics here, but we put in some cabinets, a sink, microwave, and fridge in the kitchen area, sharing the same plumbing as the bathroom. months later i added stain and drawer pulls to these cabinets. the bathroom was also wrapped up with a new toilet, sink, and leftover tile from my master bathroom.
crappy picture sorry
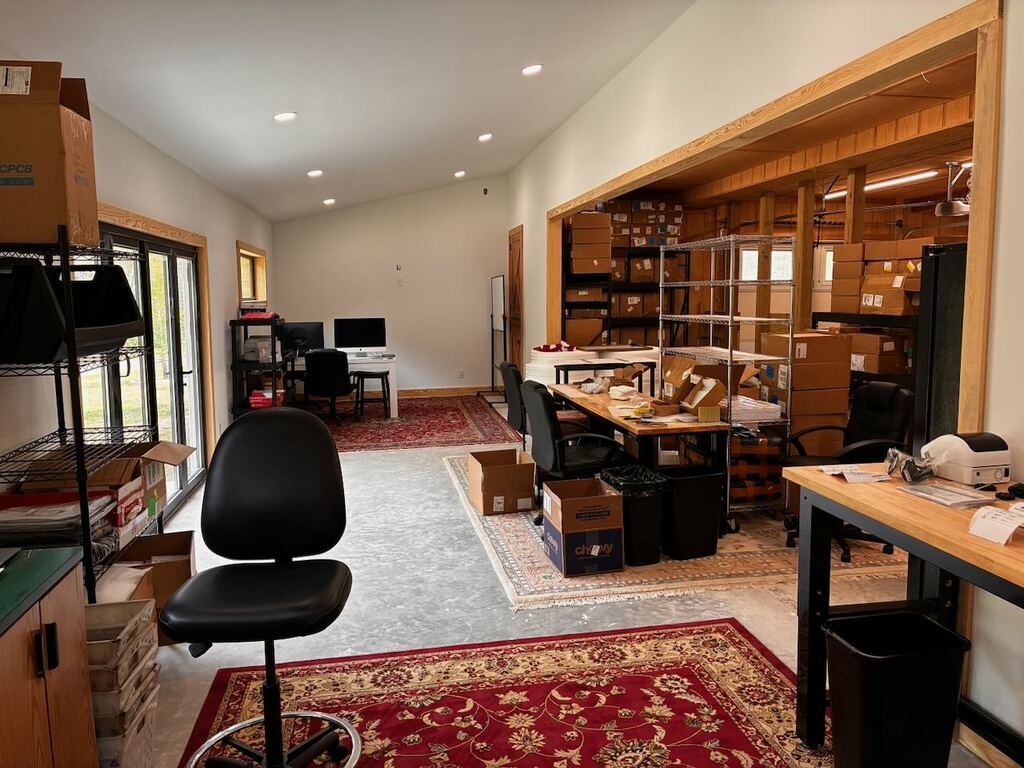
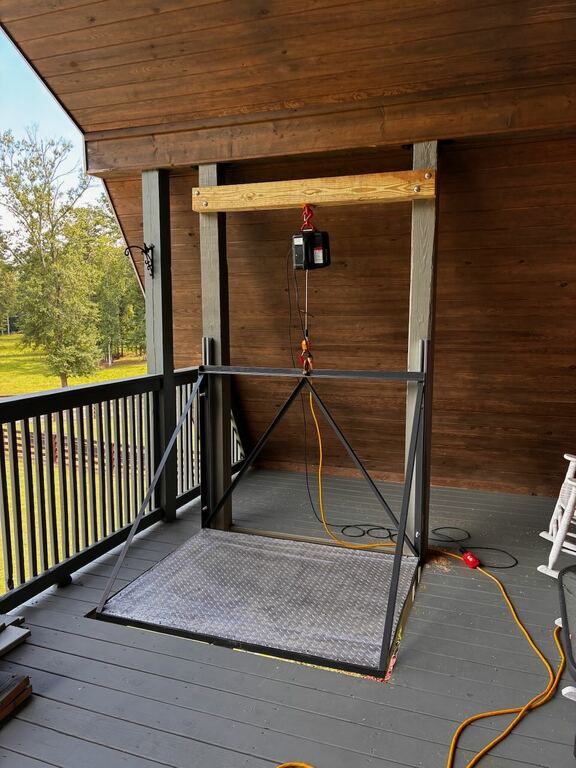
step 8 - move in the TRMNL warehouse team moved in over a weekend and quickly scaled to 15 people at peak times. over the following months we added more decoration, a TV, security cameras, and additional storage racks. we even added an elevator to the loft, as we expect to double our capacity in the future...